Painting wooden beams without sanding radically transforms the ambiance of a room with less effort than you might imagine. What a pleasure to bring these architectural elements back to life without facing clouds of dust and hours of tedious work! This approach is particularly suitable for wooden beams difficult to access areas, such as those adorning our ceilings. Between careful preparation, choosing the right paints and careful application, here is a step-by-step guide to painting wooden beams without sanding while preserving their authenticity and natural charm.
Our article in brief:
The renovation of wooden beams without sanding transforms your interiors by combining aesthetics and practicality.
- Painting wooden beams without sanding saves you hours of preparation compared to several days of traditional sanding
- Not sanding allows you to keep your House
- Careful preparation essential – Cleaning with diluted St Marc laundry detergent or pure acetone
- Essential bonding primer – Glycero fixatives create a perfect bond between support and finish
- Methodical application – Always paint in the direction of the wood grain for a professional result
In this article
Why and how to paint wooden beams without sanding?
The advantages of painting beams without sanding
Painting wooden beams without sanding has considerable advantages for your interior. The total absence of wood dust prevents contamination of furniture and surrounding surfaces. The time savings are spectacular. Allow a few hours of preparation compared to several days for a complete sanding. This technique reduces physical effort, which is particularly appreciated by ceiling beams that require uncomfortable positions. It is also an ideal solution for old or fragile woods which could suffer from aggressive stripping. Preserving the natural reliefs of the material guarantees an authentic result that reveals the soul of your home.
Essential cleaning and preparation before painting wooden beams
A meticulous cleaning will allow you to obtain a durable paint on your wooden beamsTo effectively degrease the surface, several options are available to you. There St Marc laundry detergent very diluted followed by rinsing with clean water removes surface impurities. Pure acetone (never its substitute) degreases and removes stains perfectly before evaporating in a few minutes.
A specific degreaser applied with a brush ideally prepares the surface. To check if your wooden beams have already received a treatment, rub them with a cloth soaked in white spirit. After cleaning, lightly sand with 50-grit sandpaper to "scratch" the surface to improve paint adhesion. Ventilate the room generously during these operations and allow it to dry completely before applying any product.
Support identification and special cases
Determining the exact nature of your beams is critical to the success of your renovation project. Consider their appearance: raw wood has a matte texture, while a varnished finish reflects light. Waxed or oiled surfaces represent a special case necessarily requiring sanding. This is the main limitation of this technique.
Beware of tannin bleed-through, particularly common with oak, which can cause yellowish stains that bleed through the paint. To avoid this, a special blocking primer is required before applying your finish. Also check the general condition of your beams – this method is only suitable for surfaces in good condition, with no flaking or peeling varnish.
Which paints should you choose to paint wooden beams without sanding?
Undercoats and primers
The choice of primer determines the longevity of your paint on unsanded wood. Glycero fixatives for closed bases like the Primaprene Plus 162 Create a perfect bond between the substrate and the topcoat. Special stain undercoats ideally prepare surfaces to receive this type of finish. For wood with high tannins, opt for a blocking undercoat that will trap these substances before they migrate to the surface. These technical products generally cost between €25 and €45 per liter, an investment that guarantees the durability of your work and avoids disappointment after application.
| Primary type | Benefits | Disadvantages | Average price |
|---|---|---|---|
| Special wood primer | Optimal adhesion on all types of wood | Longer drying time | 30-40€/L |
| Glycero fixative for closed bases | Excellent adhesion on smooth surfaces | Strong odor, clean with white spirit | 35-45€/L |
| Anti-tannin blocking undercoat | Prevents yellowing | Higher price | 40-60€/L |
Paints suitable for unsanded wood
After the undercoat, selecting the perfect finishing paint for your wooden beams is a key point. Water-based multi-support paints They adhere remarkably well to all types of wood (varnish, laminate, melamine) without sanding. The resins, which mix a color with a binding base, are ideally suited to both horizontal and vertical surfaces.
For the wooden beams For exclusively vertical applications, choose paints specifically for raw, varnished, or painted wood. Renovation paints offer exceptional resistance in a satin finish and remain washable. As for the finish, acrylic (after undercoat) or glycerol paints provide different results depending on the desired effect. Opaque white stains allow you to preserve the texture of the material while transforming it.
The criteria to take into account depending on the desired effect
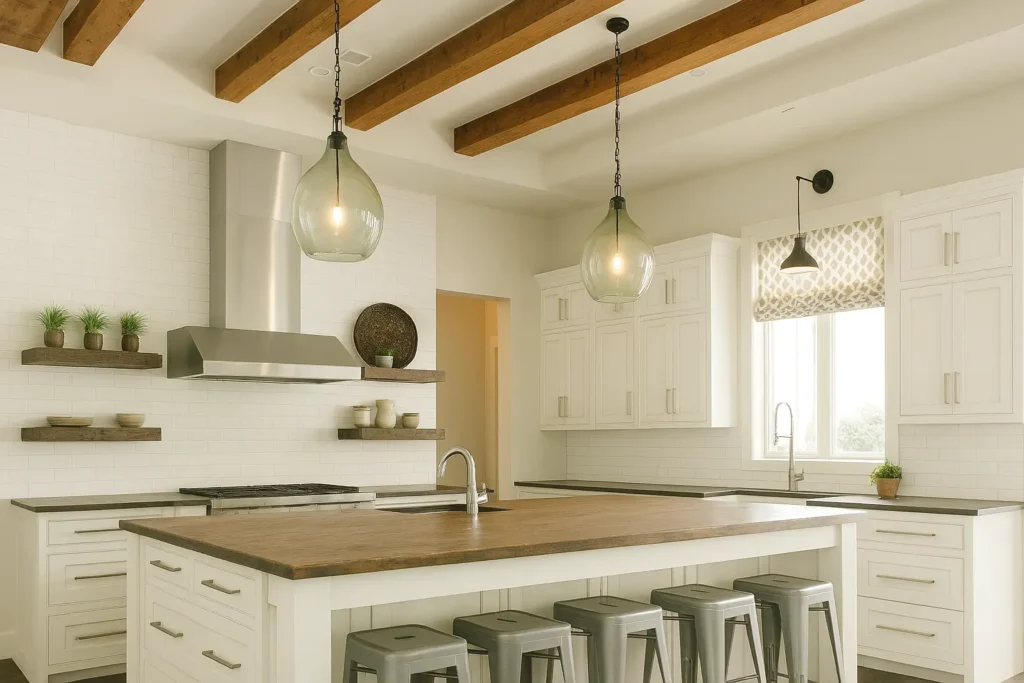
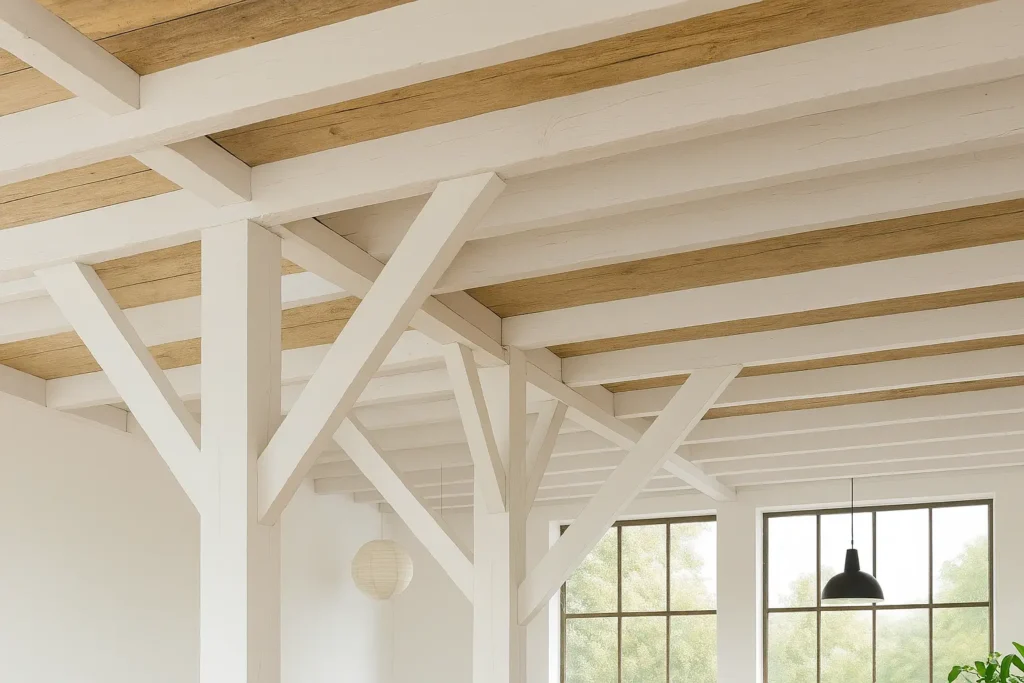
There color of wooden beams significantly influences the atmosphere of your interior. Pure or off-white provides incomparable brightness and visually enlarges the space. Light gray, on-trend and subtle, airs the room while adding a contemporary touch. Avoid overly dark shades, which visually weigh down the structure and appear to lower the ceilings.
For a characterful, antique-style effect, opt for a semi-opaque white stain that reveals the wood grain and brushstrokes. This finish creates a delicate contrast between tradition and modernity, making it particularly popular for renovating characterful homes.
Step-by-step application and practical tips for a professional result
Recommended application method
The success of your project depends on a methodical application that respects each step. Start by applying your primer, carefully following the drying time indicated by the manufacturer. Applying two to three coats of finishing paint guarantees perfect opacity and long-lasting protection. Always paint in the direction of the wood grain to respect its natural appearance. Carefully spread the paint to avoid unsightly blisters and drips. Pay particular attention to corners, hollows, and raised areas, which often accumulate more product. Allow sufficient drying time between coats to achieve optimal adhesion and a flawless finish.
- Step 1: Deep Cleaning – Degrease with your chosen product (St Marc, acetone or specific degreaser) and let dry completely.
- Step 2: Light grinding – Use 50 grit sandpaper to create a grip without sanding deeply.
- Step 3: Applying the primer – Cover the entire surface evenly and respect the indicated drying time.
- Step 4: First finishing coat – Apply in the direction of the wood grain, stretching the product well.
- Step 5: Next Layers – After complete drying, apply one or two additional coats depending on the desired opacity.
Suitable tools and application techniques
Selecting the right tools makes applying to your wooden beams much easier. A long-pile roller speeds up the work considerably on large, flat surfaces. For corners and irregular spaces, a standard paintbrush provides precision and control. Hard-to-reach areas require a flat brush, thumb brush, or sash brush to reach every nook and cranny. For overhead beams, invest in a telescopic handle that eliminates the need for unstable ladders. Carefully protect surrounding surfaces with masking tape and drop cloths to prevent overspray. Work in well-defined sections to maintain a "wet edge" and avoid rework marks.
Solutions to Common Problems
Some difficulties can arise when painting beams without sanding. To deal with tannin bleed-through, apply an additional blocking undercoat or use a product such as MAP very diluted in sponge finish before final painting. Insufficient adhesion usually indicates incomplete degreasing – resume cleaning before reapplying your primer.
Uneven drying is often the result of inadequate ventilation—ensure optimal air circulation during and after application. Allow at least 24 hours for drying before normal use, and allow up to a week for maximum strength. This patience ensures the durability and beauty of your refinished beams.