Our article in brief
- Four installations are suitable for home use: the extension of the islet, the worktop return, the bar-partition between kitchen and living room, and the freestanding bar unit in the living room.
- Everything hinges on a trio of odds: the height of the plane, the seat height that corresponds to it, and the overflow which allows the knees to pass through.
- Expect to pay approximately 60 cm width per person and a proper setback behind the stools, otherwise the bar blocks traffic.
- In terms of materials, solid wood, stone, terrazzo, a brass trim and caning give a bar that ages gracefully instead of going out of style.
- A bar is used for breakfast, homework, and aperitifs — and becomes a drop-off point if no storage space is provided.
A bar at home is rarely a deliberate design decision. It's a desire: a place to put down a couple of cups in the morning, where someone can sit while you cook, where the aperitif starts before the table is even set. And yet, the’bar layout It all comes down to a few centimeters. A countertop that's too high, a poorly matched seat, an overhang that's too short: nobody sits there, and the beautiful counter ends up as a mail tray.
Let's clarify the scope right away, because the expression is misleading. If you're looking for the layout of a professional bar — coffee counter, brasserie counter, back bar, draft beer tap, dishwashing area and hygiene requirements — that's a different profession altogether, that of hospitality fitters. Here, we're talking about the bar. domestic : the one that extends a kitchen, separates a room or fits into a corner of the living room. Where to place it, with what dimensions, in what materials, and for what actual use: that's the whole program.
Where to install a bar at home: four successful layouts
Before discussing dimensions and materials, the layout must be decided, as it dictates everything else. Four configurations are consistently used in housing, each corresponding to a different geometry. Choosing the right one isn't about picking the most aesthetically pleasing one in photos; it's about choosing the one that your room can accommodate without obstructing the flow of movement.
- Who will sit there, and how many people at the same time?
- Is the bar crossed by a daily passageway (laundry room, terrace, corridor)?
- Can it remain against the wall, or must it be accessible from both sides?
- Does the natural light fall on the surface, or from behind the person sitting?
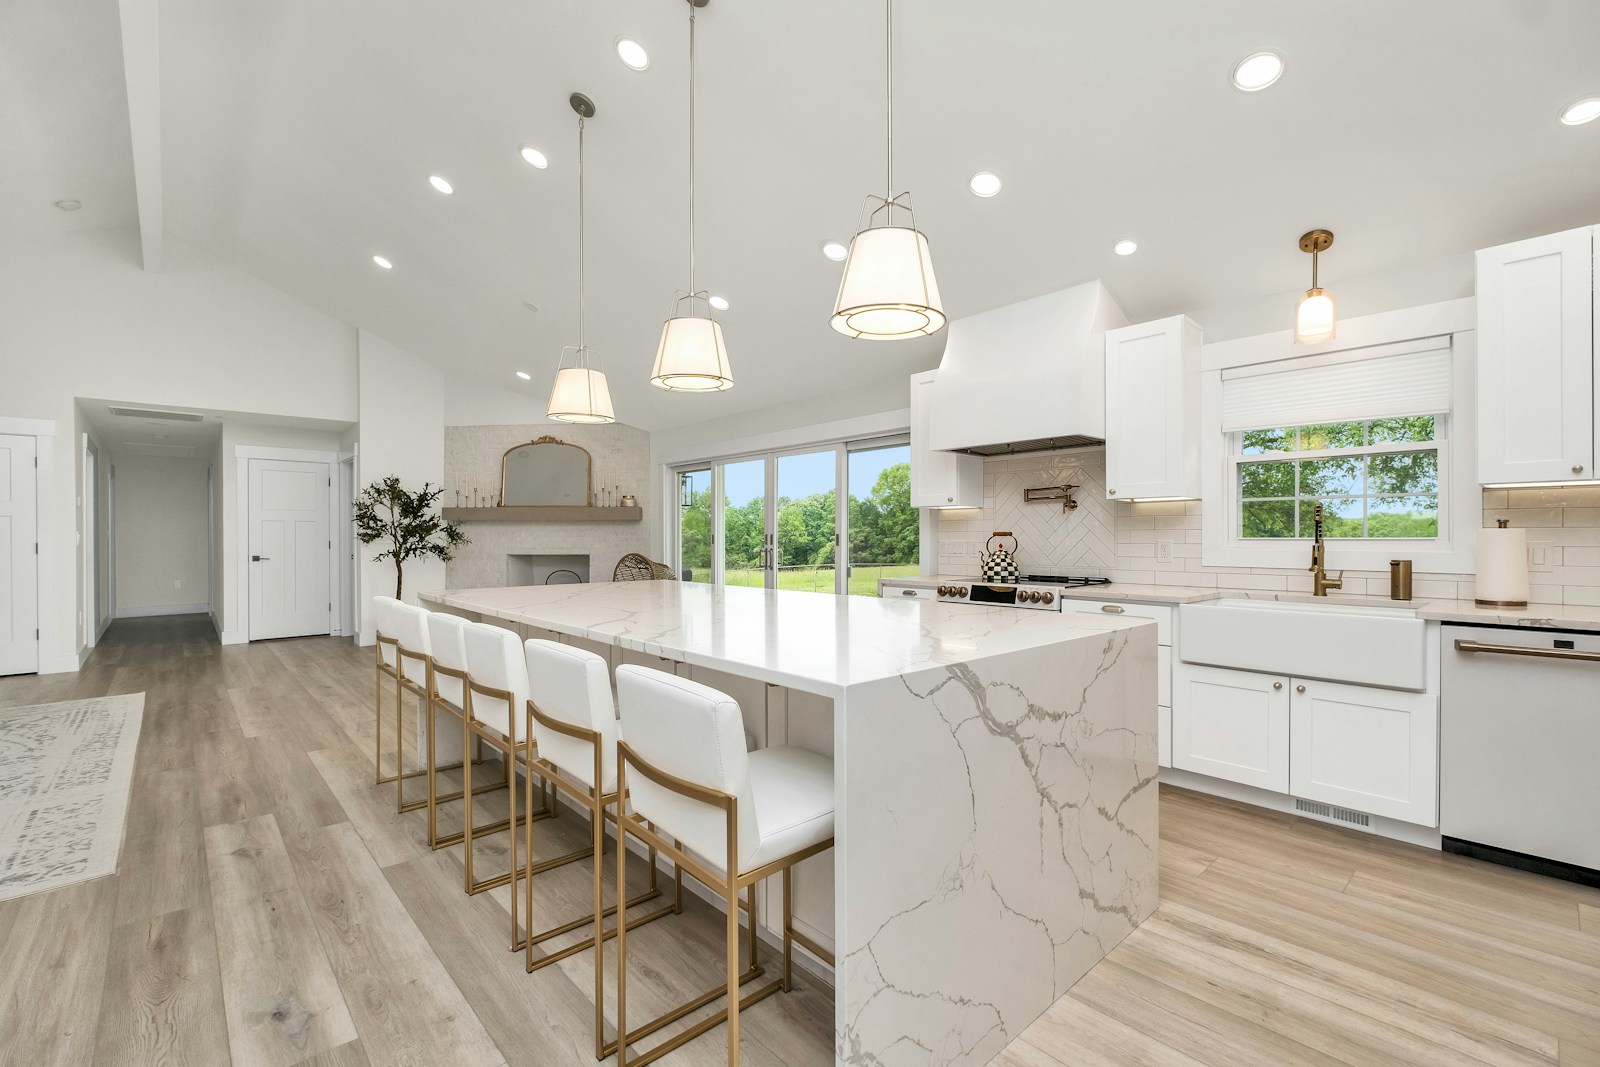
The extension of the central island: a classic that never disappoints
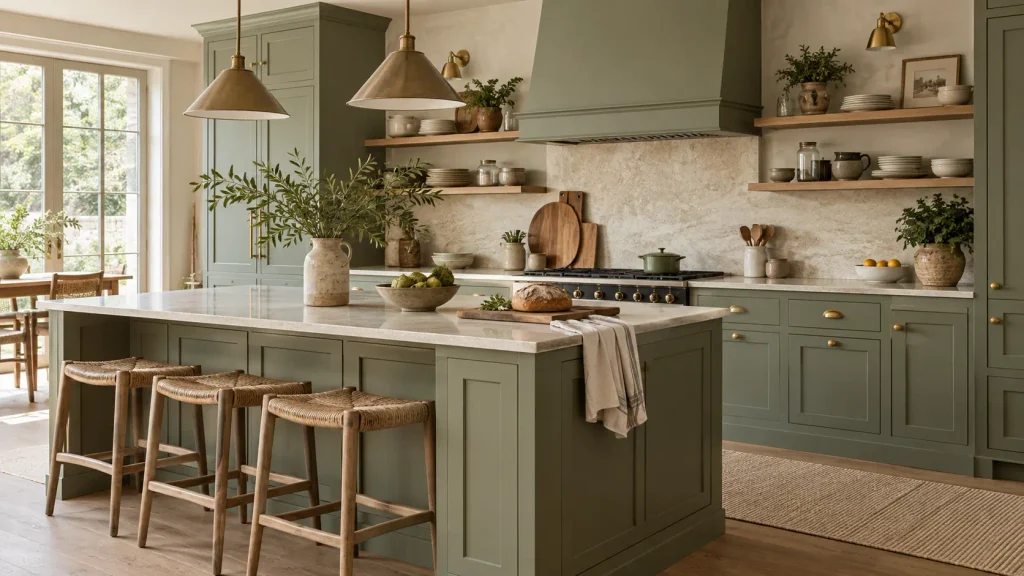
This is the most natural solution: extend the island countertop to one side, create an overhang, and slide stools underneath. The advantage is obvious: the person cooking and the person sitting face each other, and you can talk without shouting. Two variations exist. The single level plan, where the overhang is at the same height as the worktop: very graphic, very easy to clean in one go. Or the two-level plan, with a raised section on the diners' side: it hides the mess of the preparation, which is not a detail in an open kitchen.
One point to be aware of, and it's a serious one: if your island is going to have a sink, a cooktop, a power outlet, or a dishwasher, the water supply, the’evacuation The electrical wiring runs through the floor. This isn't a decorating project. Have the layout and drainage slopes checked by a professional before ordering anything — a poorly supplied island will cost you in slab repairs.
The worktop return: the solution for L-shaped kitchens
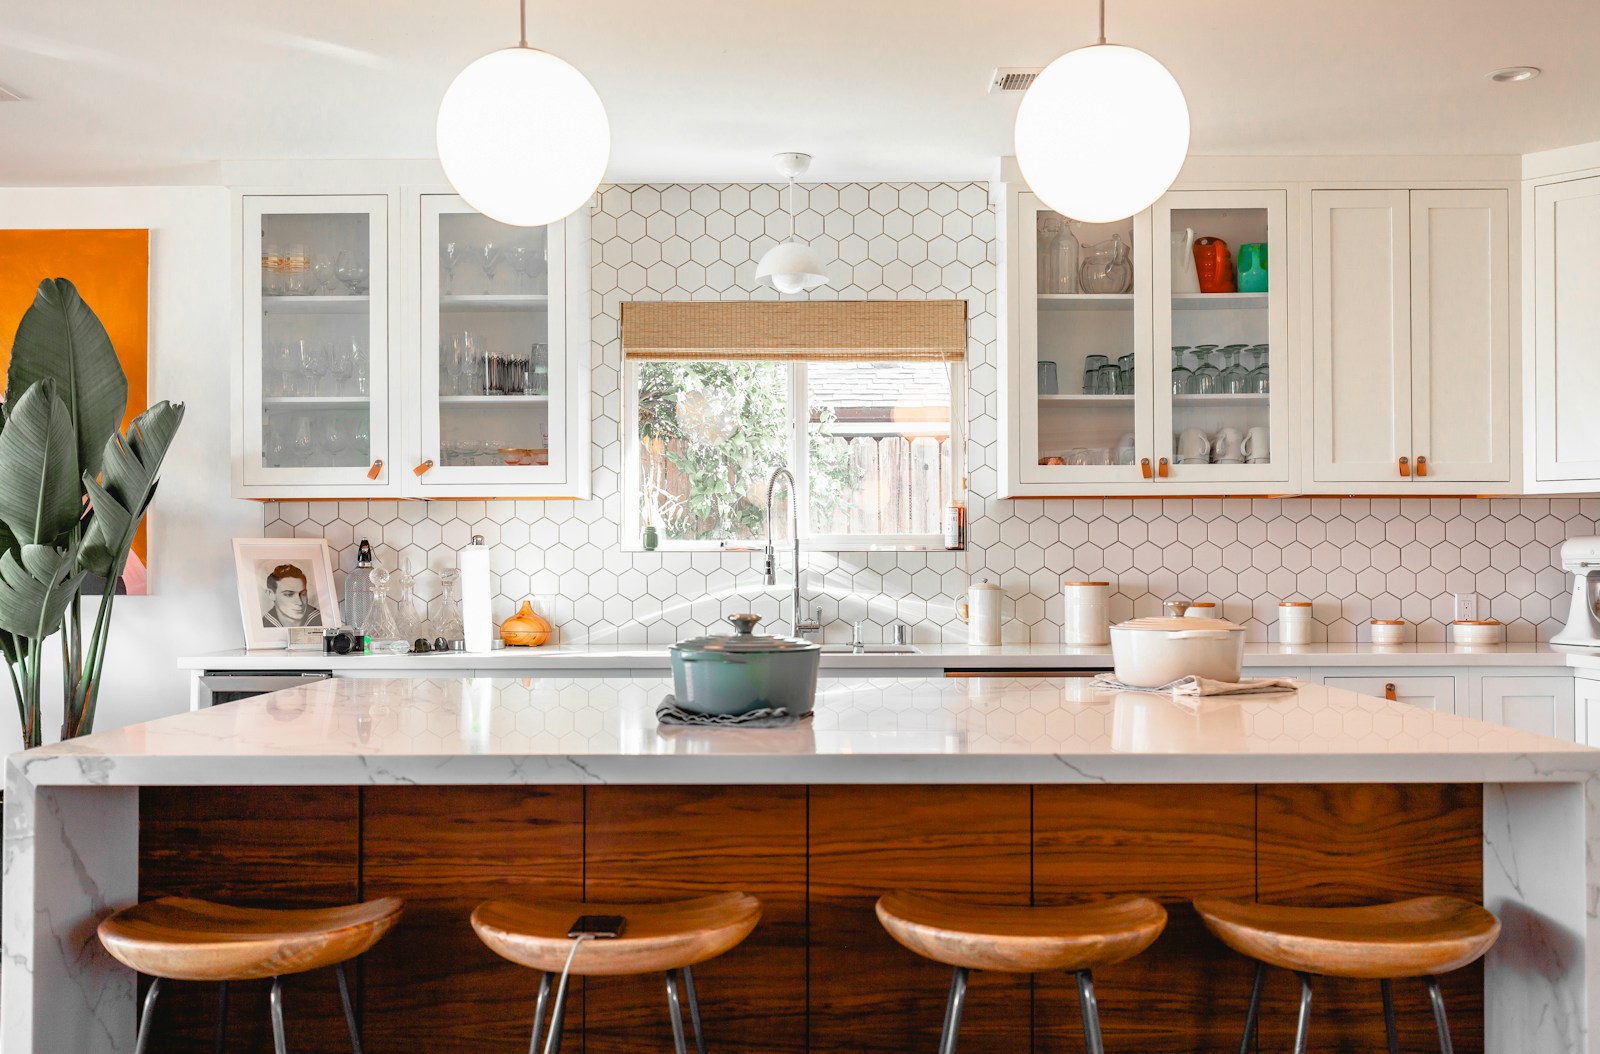
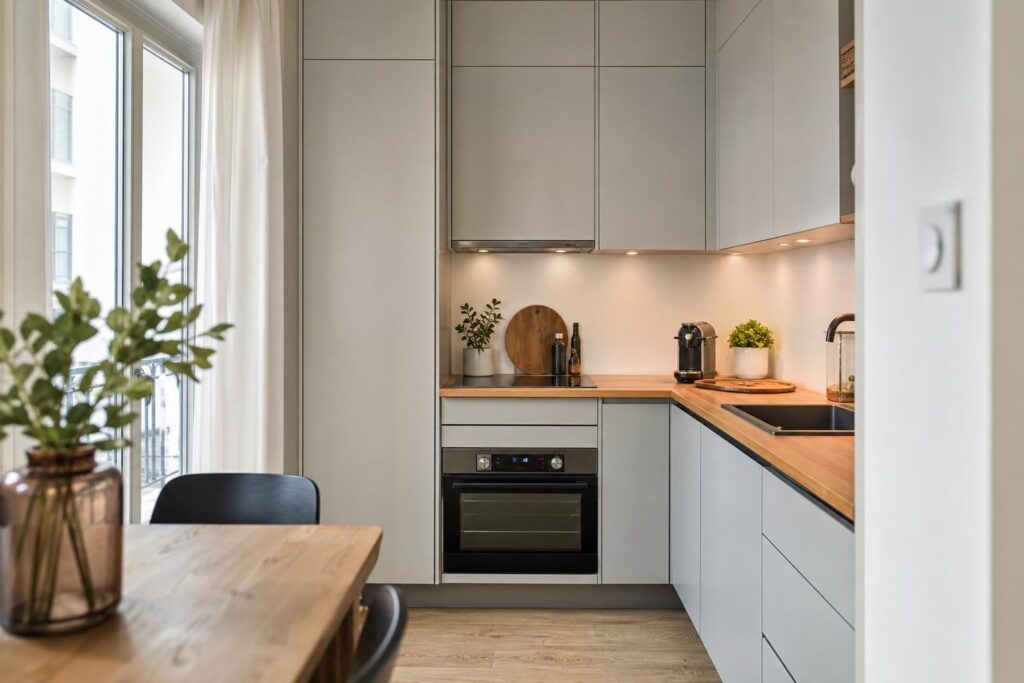
When the kitchen is L-shaped or U-shaped, there's no need for an island: the end of the return is sufficient. You free up 60 to 80 cm of space under the cabinets, extend the countertop slightly, and there you have a seat. This is the most space-efficient option and by far the most common in kitchens between 6 and 10 square meters. It accommodates one or two people, rarely three, and simply requires checking that you're not sitting directly on the oven door.
The bar acts as a partition between the kitchen and living room
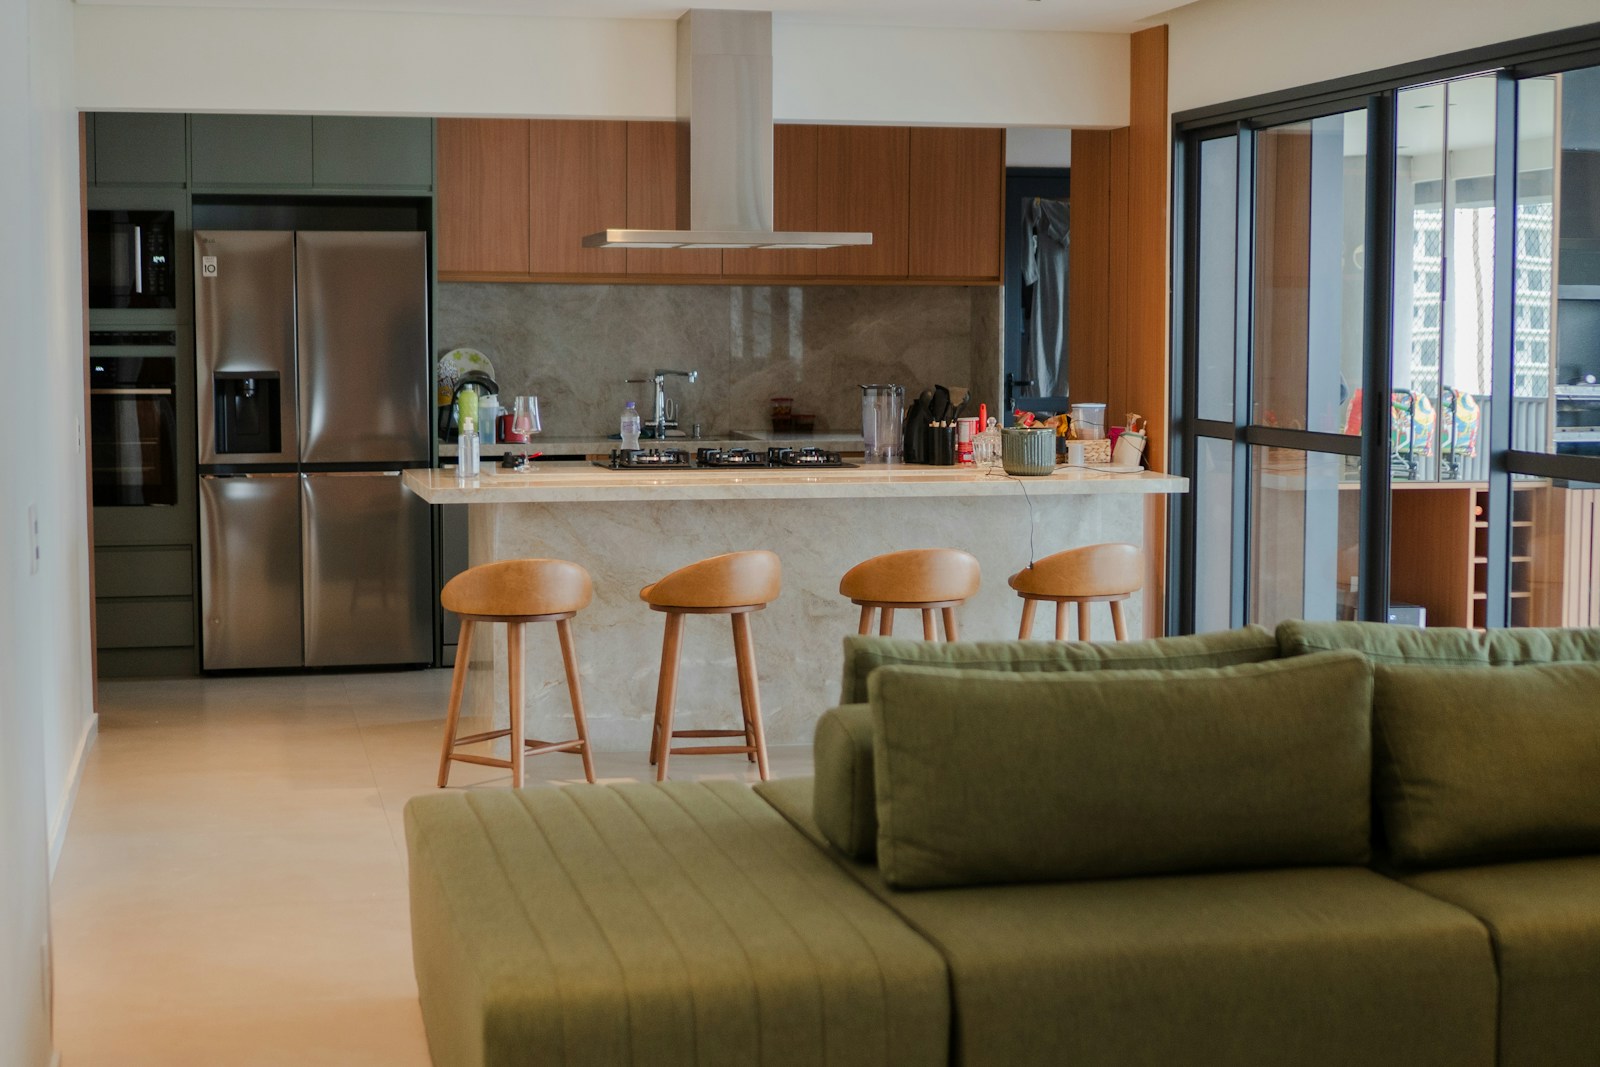
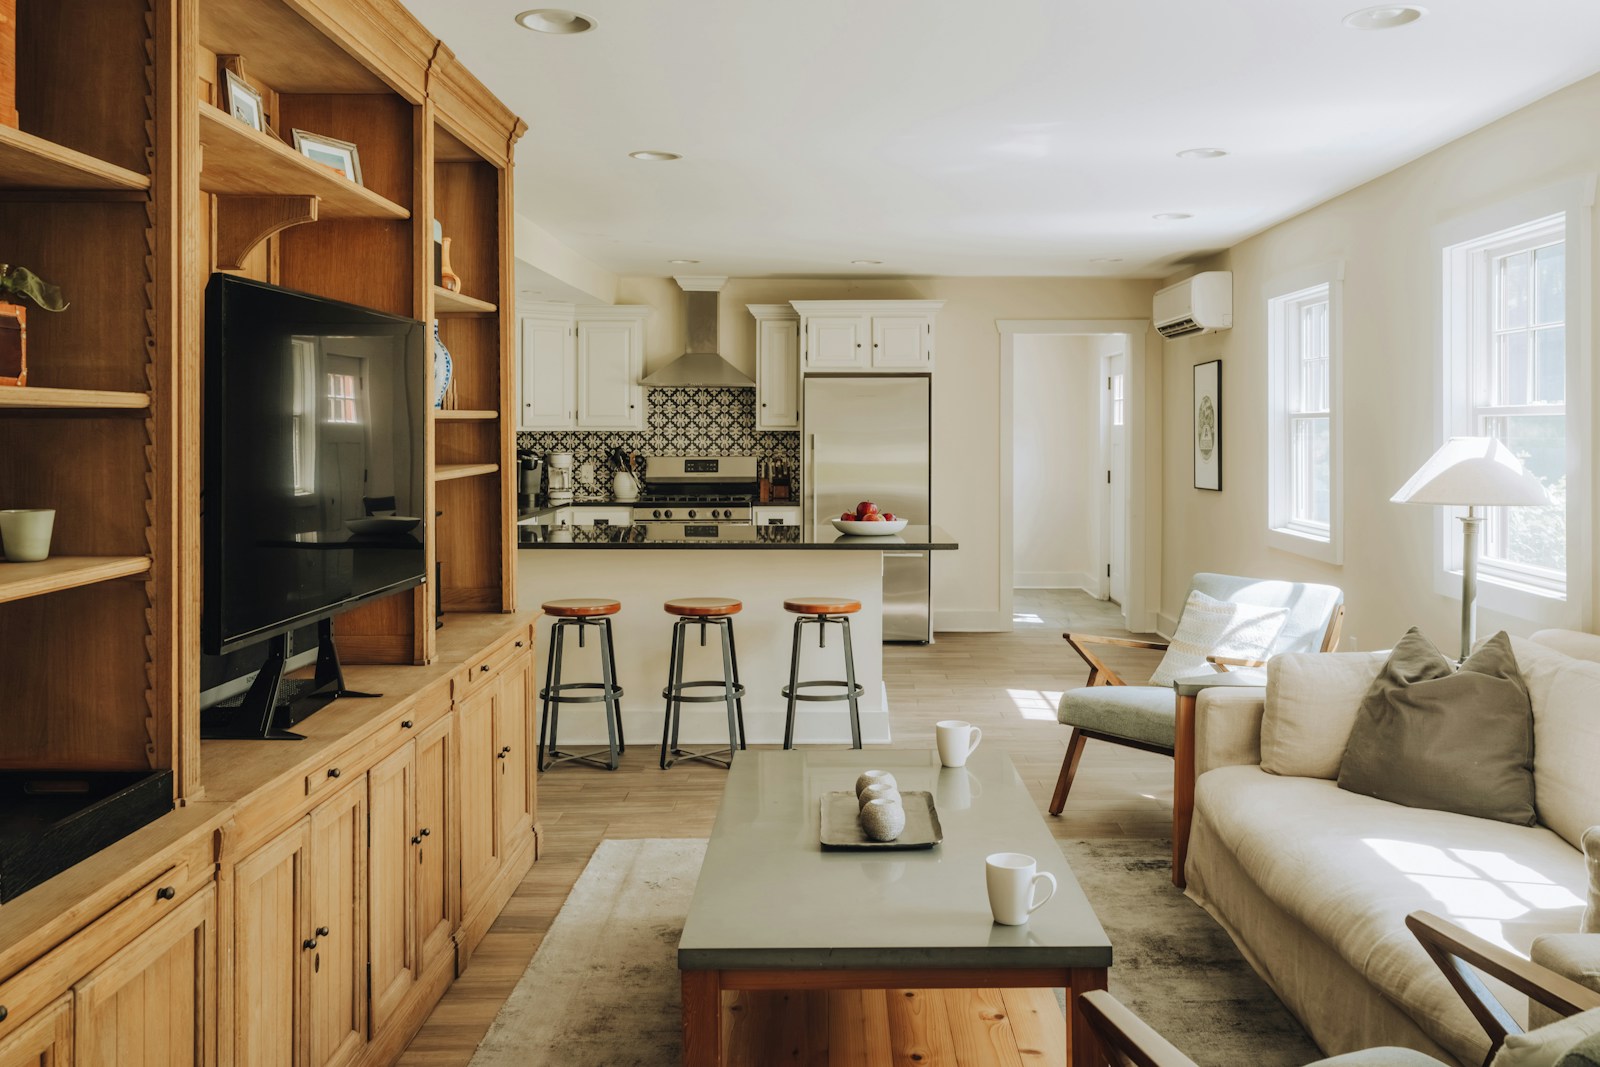
Here, the bar plays a dual role: seating on one side, a visual boundary on the other. It creates a low, transient border, often enough to give a single room two distinct territories. The best way to think about it is to treat it as a two-sided furniture On the kitchen side, cabinets, a recycling bin, deep storage; on the living room side, a finished side panel, a low backsplash, something that can be viewed from the sofa. well-chosen backsplash The extension completes the connection between the two atmospheres.
The freestanding bar unit, when the kitchen can't compromise on anything.
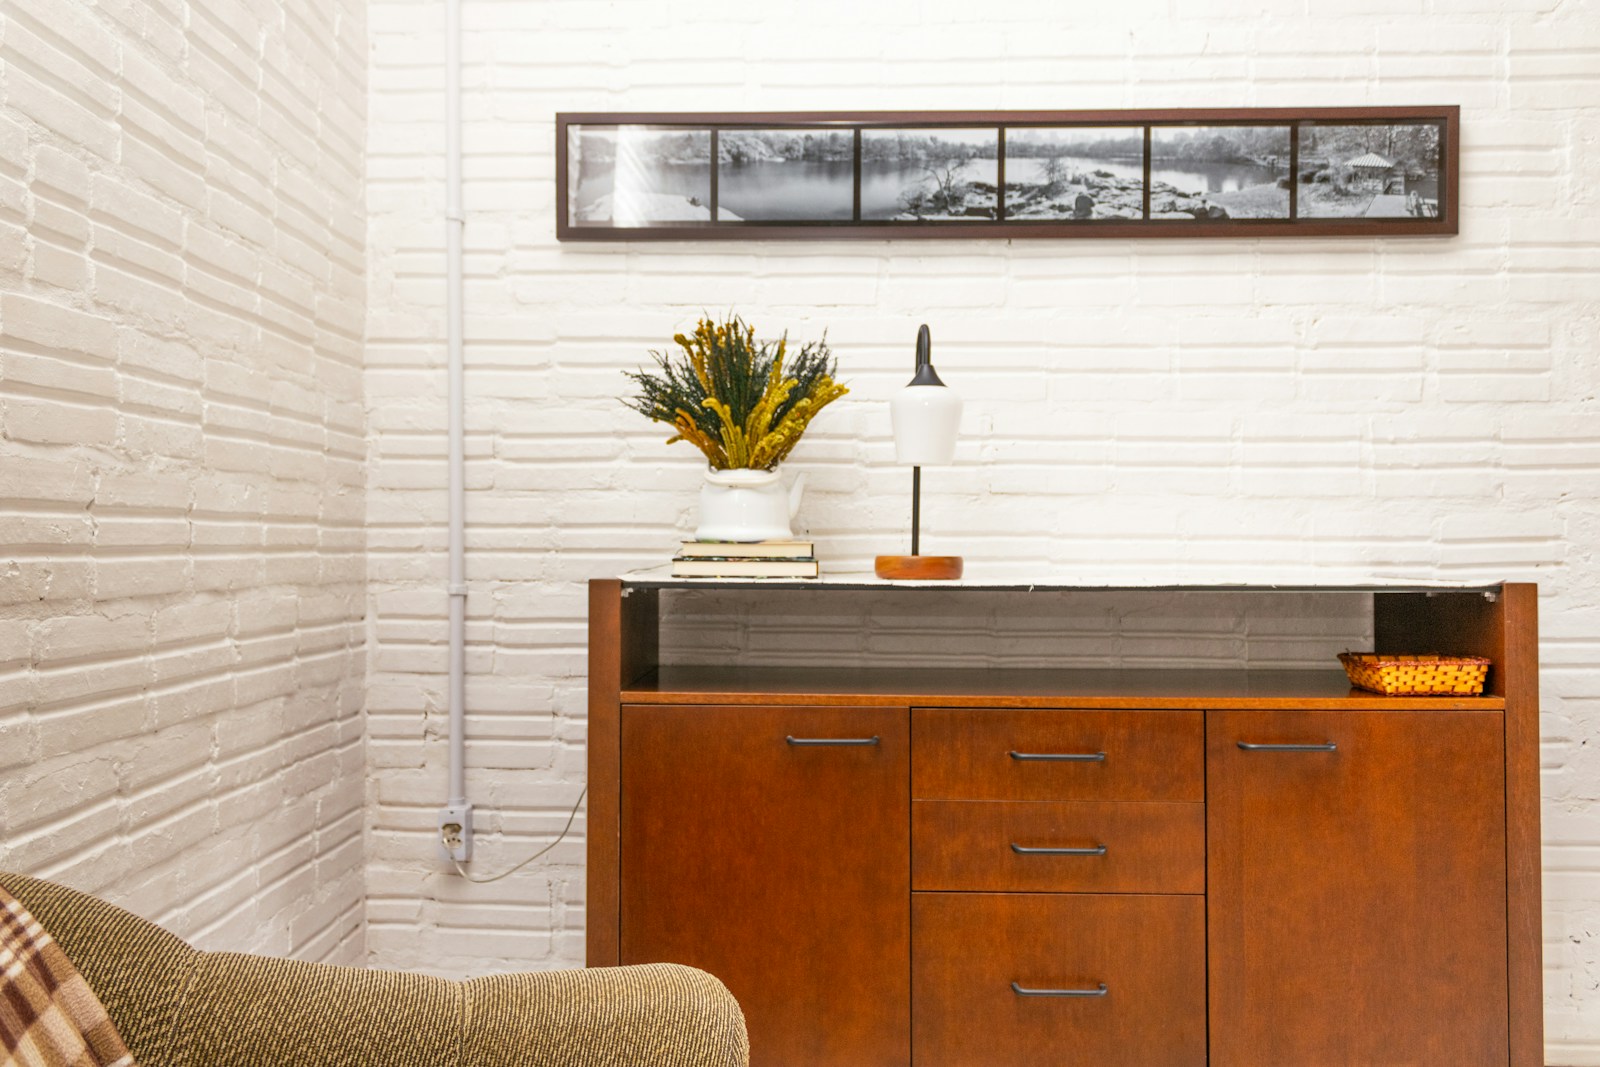
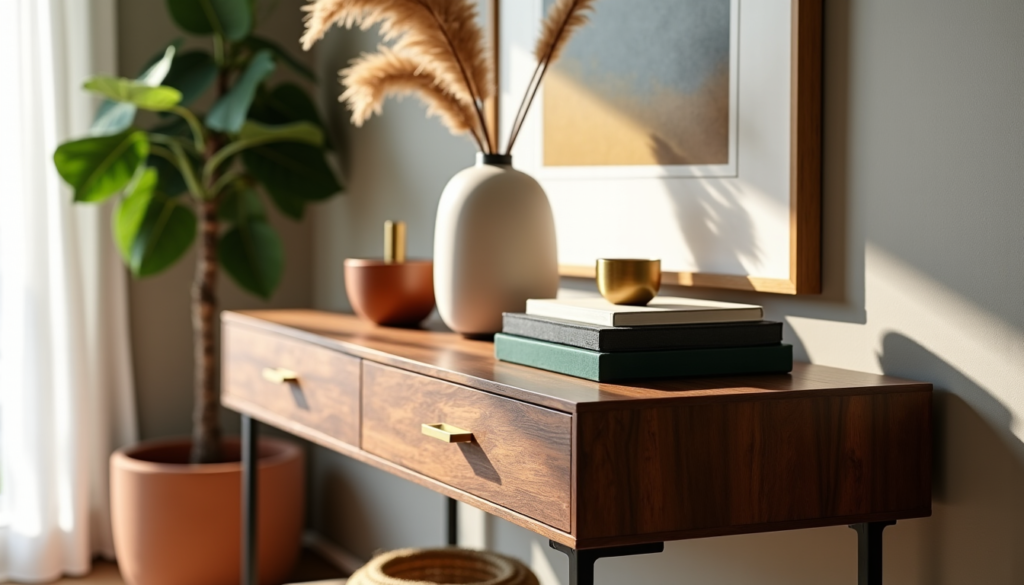
This is my preferred option in apartments where the kitchen is closed off and will remain so. The bar then leaves the kitchen and becomes a living room furniture A tall console table against a wall, an old sideboard raised on its side, a vintage liquor cabinet, two stools. It's no longer used for breakfast, but for the evening ritual—and that's perfectly fine. The advantage is that a piece of furniture can be moved, resold, and replaced: no long-term commitments, and total freedom of style. If you're starting to think more broadly about your space, our guide to furnishing your home helps to place this type of furniture without cluttering the space.
The dimensions of a bar: height, width, overhang and setback
This is the part that decides whether your bar will be lived in or just photogenic. The following values are... typical orders of magnitude of design, The measurements found in standard furniture are not definitive and should never replace on-site measurements. Your existing worktop height, your height, the height of your children, and the actual thickness of the worktop you're ordering can all shift the figures by a few centimeters.
What height should a bar counter be?
A bar counter is typically between 105 and 115 cm from the floor, compared to 90 to 95 cm for a kitchen worktop. Between the two, there's an intermediate height known as a "counter," around 100 to 105 cm. So, three main types, and the choice is based less on aesthetics than on intended use.
The logic is simple. The higher the countertop, the more it conceals the kitchen and resembles a bar; the lower it is, the closer it is to a table and the more comfortable it becomes for extended meals. The single countertop level (approximately 90 cm) is, in fact, the most versatile of all: it accommodates almost normal seating, is easy to clean, and serves as an extra surface when several people are cooking.
Seat height: the trio of flat seat, stool, and legs
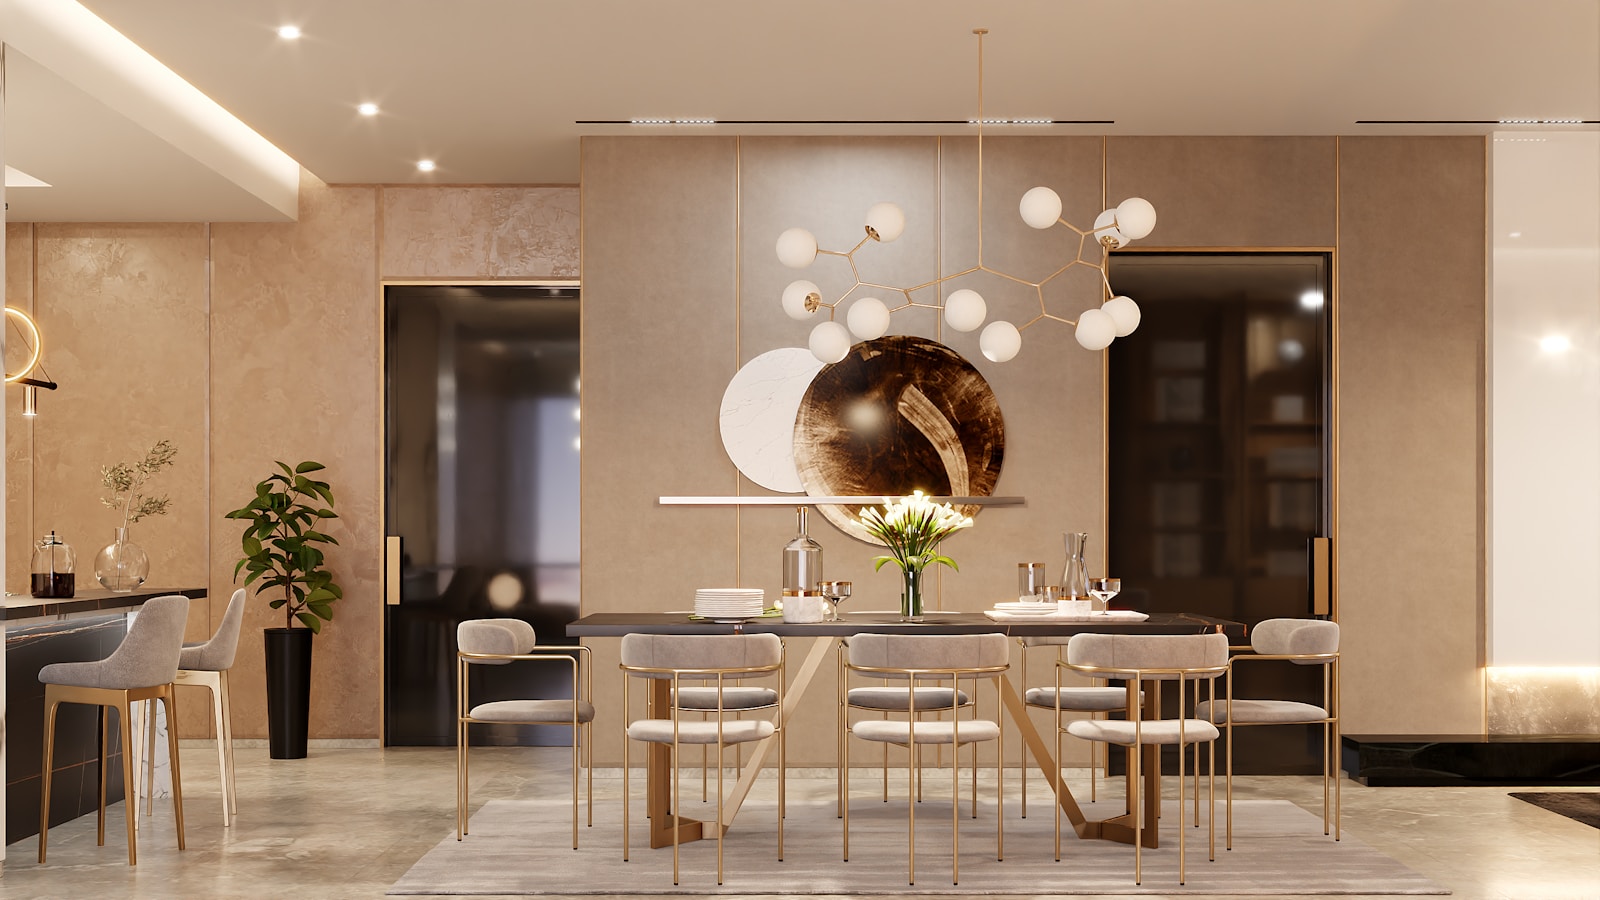
This is the most common, and most disappointing, mistake: ordering a beautiful plan and then buying the stools "afterward," on a whim. The key takeaway is simple: you need approximately 25 to 30 cm between the top of the seat and the underside of the tabletop. Below, the thighs touch; above, one feels perched, elbows too low. From there, the correspondence is self-explanatory.
| Plan type | Height of the plane (order of magnitude) | Corresponding seat height | What we actually do there |
|---|---|---|---|
| Work surface (single level) | 90 to 95 cm | 60 to 65 cm | Full meals, homework, work — the most comfortable |
| Intermediate counter | 100 to 105 cm | 65 to 75 cm | Breakfast, quick meals, somewhat mask the cooking |
| High bar | 105 to 115 cm | 75 to 80 cm | Aperitif, standing coffee, marked separation effect |
| Living room bar cabinet | Depending on the piece of furniture (often 100 to 110 cm) | Matches the furniture, with a gap of 25 to 30 cm | Evening ritual, glasses and bottles |
A word about gas-lift stools: very practical in a house where people vary in height, but the adjustable seat rarely allows for millimeter-precise adjustments, and the mechanism is audible. For a bar area, I much prefer a fixed seat, chosen at the correct height once and for all.
Width per person, overhang for knees, setback at the rear
Three horizontal sides complete the picture, and these are the ones we forget. The width per person The distance is around 60 cm along the work surface: at 45 cm, elbows get in the way and two diners become one person. overflow, that is to say the depth of the plan which extends beyond the cabinets, requires 25 to 30 cm for the knees to fit; below 20 cm, one sits at an angle, which condemns the bar to standing use.
As for the total depth of the worktop, it follows standard practice: about forty centimeters is enough to place a glass and an elbow, you should aim for 60 cm to eat a plate without being right at the edge, and even more if the worktop also extends into the kitchen. Finally, the step back behind the stools Allow approximately 90 to 100 cm of clearance for sitting and standing comfortably, and up to 110-120 cm if someone needs to pass behind the seated person. This is the dimension most often sacrificed, and the one that makes a bar a nuisance on a daily basis.
- The exact height of your existing worktop, measured including the finished floor.
- The actual thickness of the plan you order, which covers the passage for the thighs.
- The available length for the seats, divided by 60 cm.
- The overhang is possible without unbalancing the plan or interfering with the boxes.
- The free space behind the stools, measured from the edge of the plane to the first obstacle.
A bar is not designed from a plan, but from the knees of the person who sits in it.
💡 Tip — Before ordering, do a real-world test: stack books or boxes to the desired worktop height, place a plank on top, and sit on the highest chair in the house. Ten minutes of DIY will tell you what no catalog ever will.
Materials: solid wood, stone, terrazzo, brass, caning
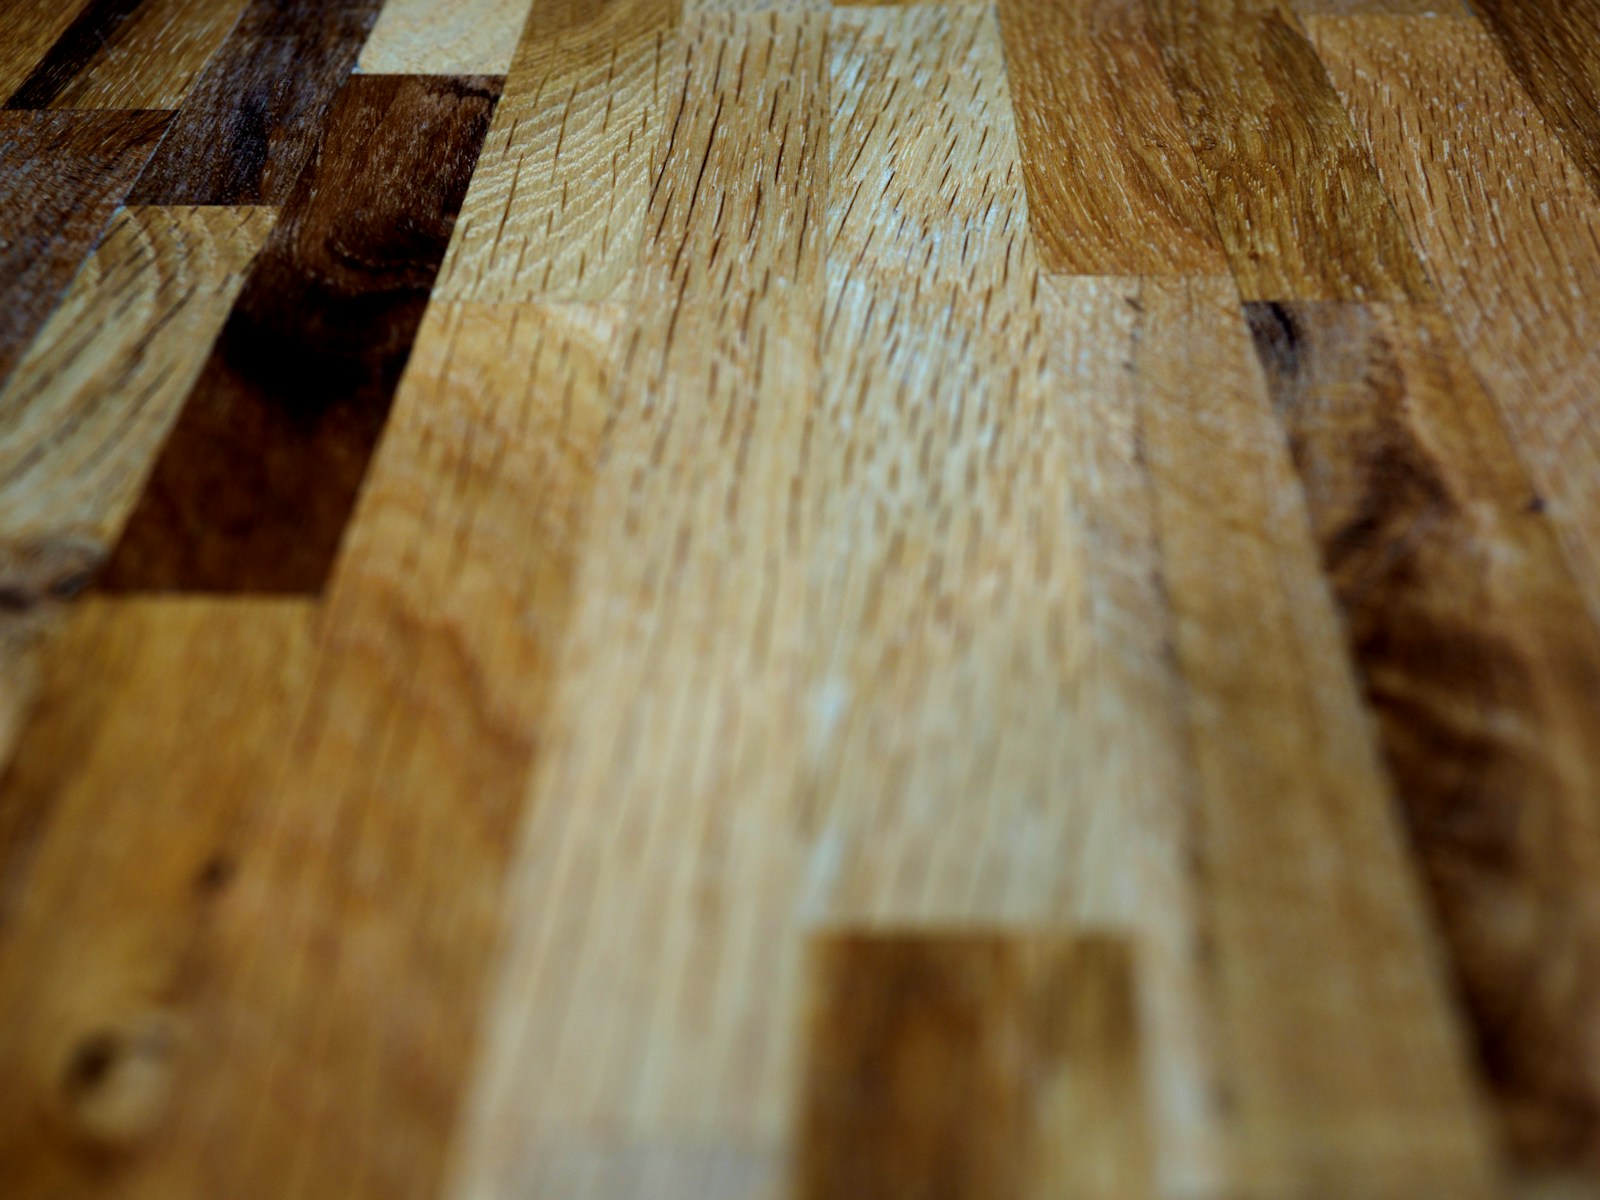
A bar is a piece of furniture that you touch. You rest your forearms on it, you drag a glass across it, you leave a cup mark. That's why I always treat it as a question of material before it's a question of style: what makes a bar beautiful ten years later is a surface that accepts aging. kitchen materials and colors of the moment They are, in fact, very clearly moving in that direction.
Solid wood, a reliable choice that develops a patina over time.
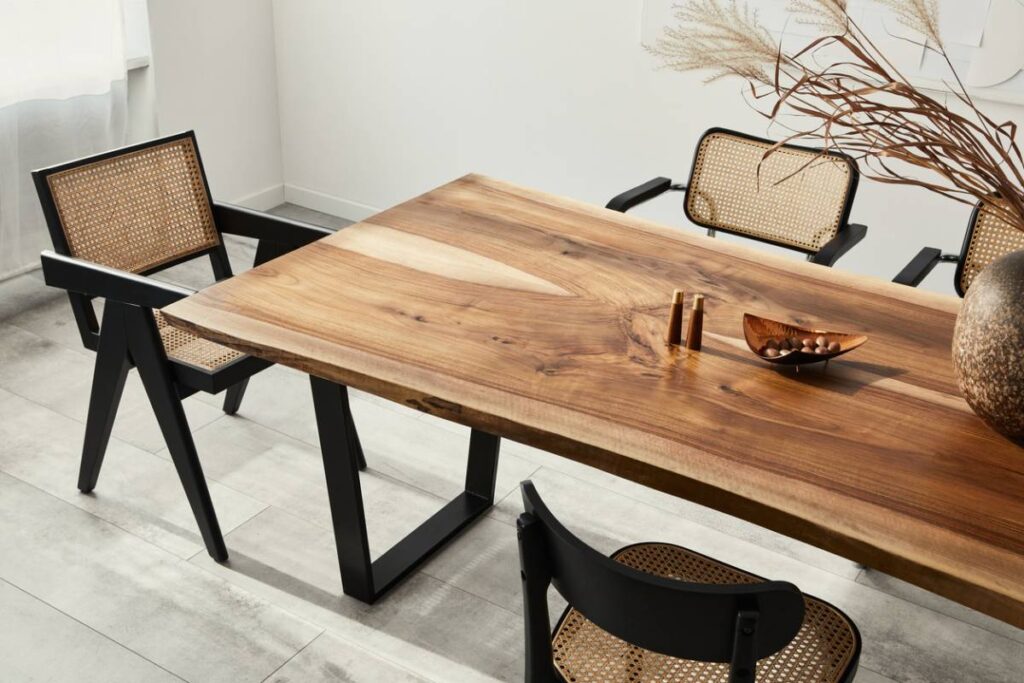
THE solid wood It remains my first choice for a bar countertop, and for a specific reason: it's the only material that improves with age. Oiled oak, beech, and walnut develop a deeper color over the years, and scratches can be repaired with fine sandpaper and then oil—something no laminate allows. The thick edge, whether laminated or a single piece, gives the overhang that slightly substantial presence that makes all the difference visually.
The downside is the need for regular maintenance: periodic reapplication of oil or varnish, and vigilance regarding standing water. On a kitchen bar where wet glasses are placed, use coasters or a durable finish, and wipe dry rather than letting it air dry.
Stone and terrazzo: mineral freshness

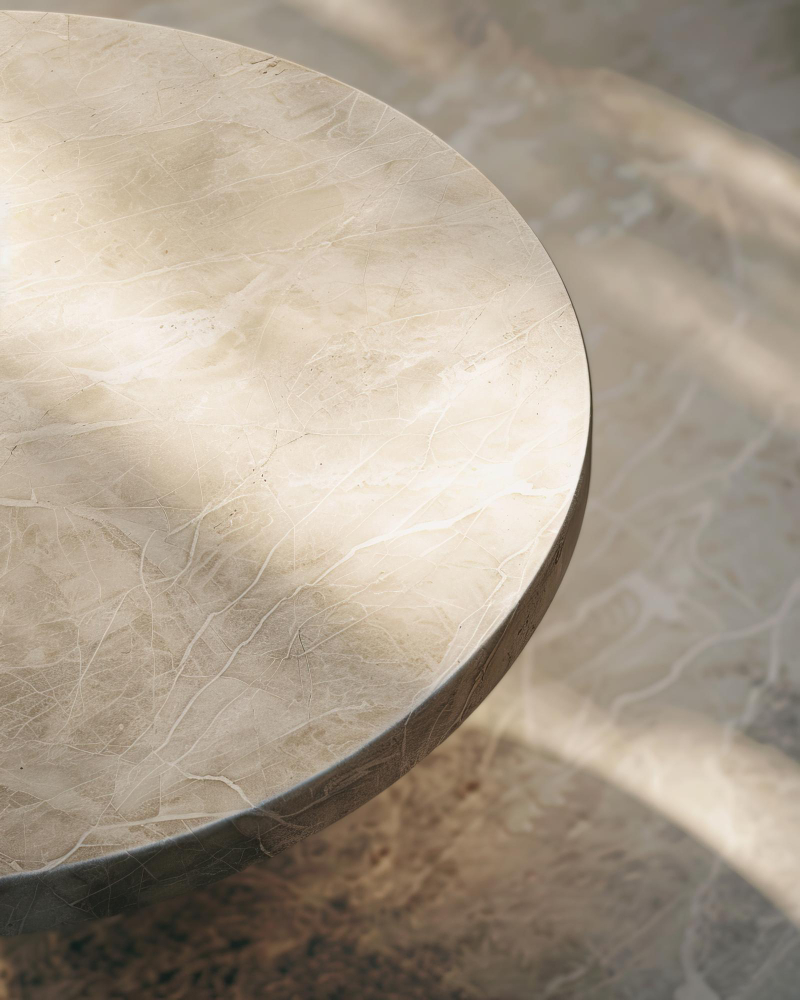
There rock It brings to a bar what wood cannot: a cool mass, a dull thud when a glass is placed on it, a depth of grain that is never the same twice. Each stone has its own character and sensitivity—porosity, reaction to acids, smooth or rough finish—and this is a technical subject in its own right, which is documented in the CTMNC, technical center for natural building materials. Above all, remember that a stone is chosen based on its surface treatment, not just its color.
THE terrazzo This is the compromise I really like for a bar. These stone fragments embedded in a binder give it an immediate, cheerful graphic quality that works very well on a small surface: on a 30 cm overhang and two meters long, it serves as a motif in itself. It also visually forgives marks, which, on a countertop where people eat, matters more than you might think.
Brass and caning: the two details that define it
A bar is a small space: it therefore allows for a precious detail where an entire kitchen would make it look flashy. brass It lends itself perfectly to this, provided it remains understated—a finishing strip along the edge, a tubular footrest, handles, a few pendant lights. Unvarnished, it develops a patina and darkens; varnished, it retains its shine. Both have their merits, but mixing the two in the same piece is noticeable.
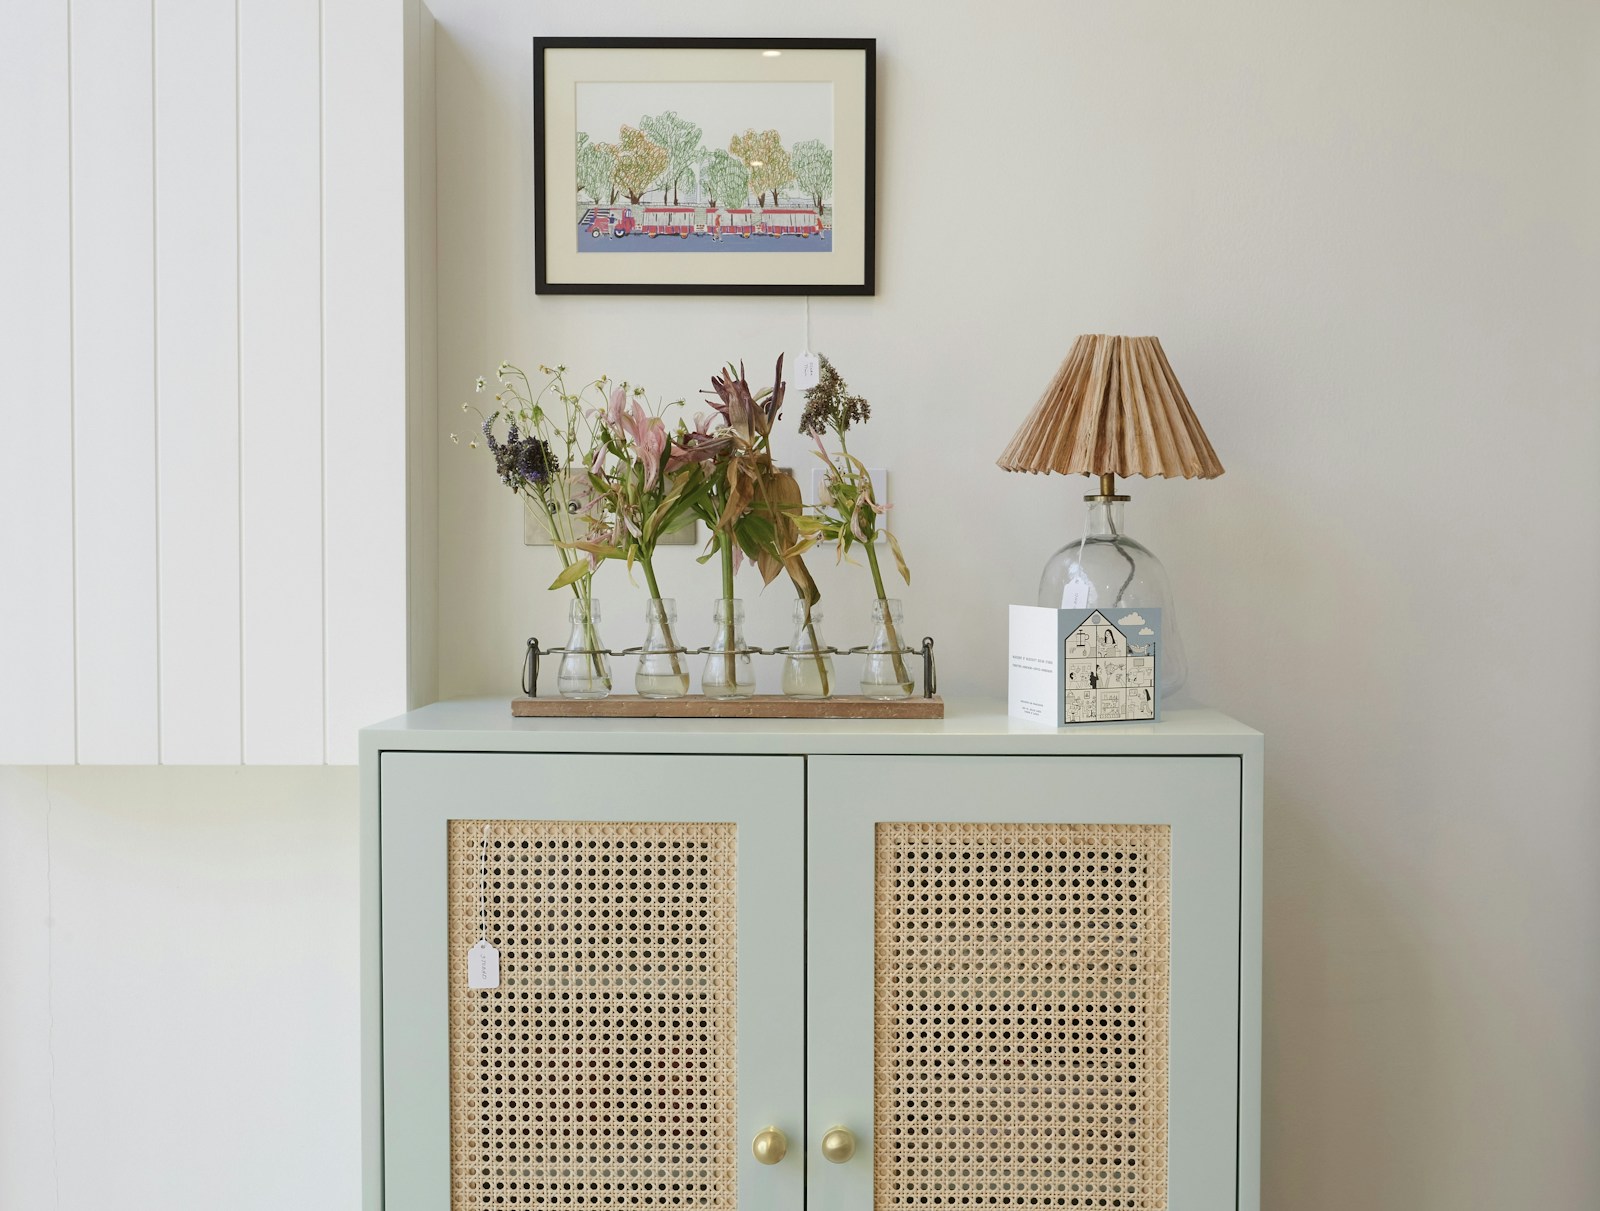
THE caning Applying it to the facades is another technique I wholeheartedly recommend. On the cabinets of a bar partition or the doors of a bar unit, it lightens the space, allows light to breathe, and adds a woven texture that softens everything else. It's a true craft, the craftsmanship of... caner-chair-re-chairer, still very much alive in France — and a serious option if you want to have a piece of secondhand furniture reupholstered rather than buying a new one.
Woven rattan or turned wood: which stool?
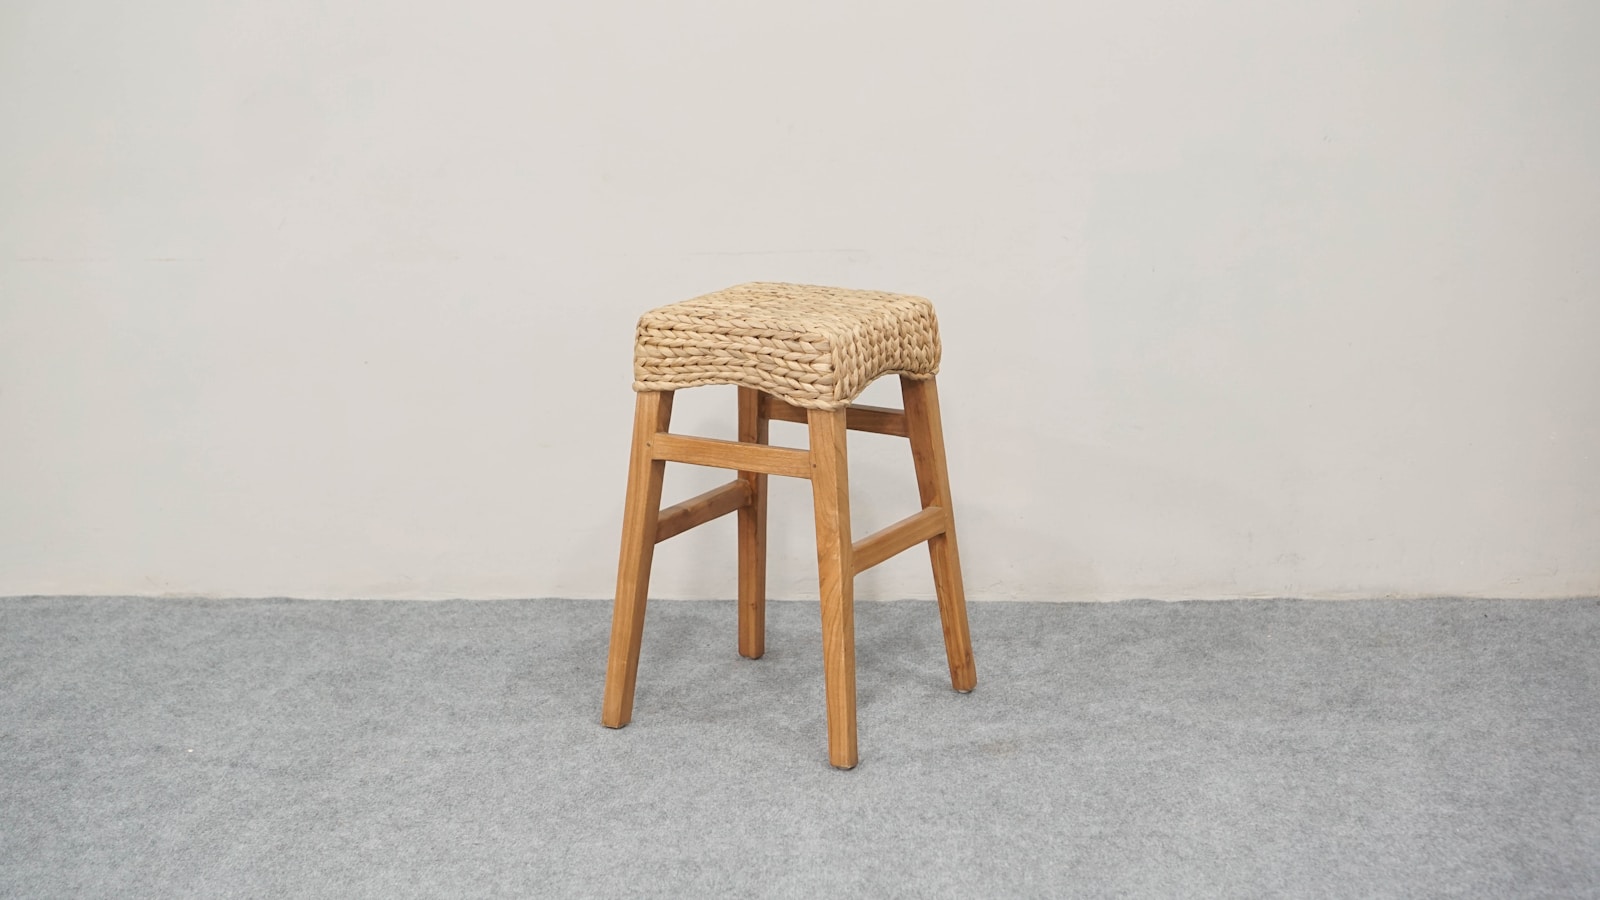
The seating accounts for half the effect, and two families dominate in a natural interior. rattan Braided, lightweight, almost visually transparent, it can be moved with one hand and doesn't weigh down an open-plan kitchen: it's the material I choose when the bar is very visible from the living room. If this material appeals to you, we've dedicated an entire article to it on [website/platform name]. rattan as a decorative material.
THE turned wood The opposite approach is taken: denser and more sculptural, it anchors the bar to the floor and better withstands heavy use with children. Two common-sense guidelines to help you decide: a low backrest makes all the difference if you sit for long periods, and a footrest becomes essential as soon as the seat height exceeds 70 cm. Without it, legs dangle and no one will stay put.
Actual use: breakfast, homework, aperitif
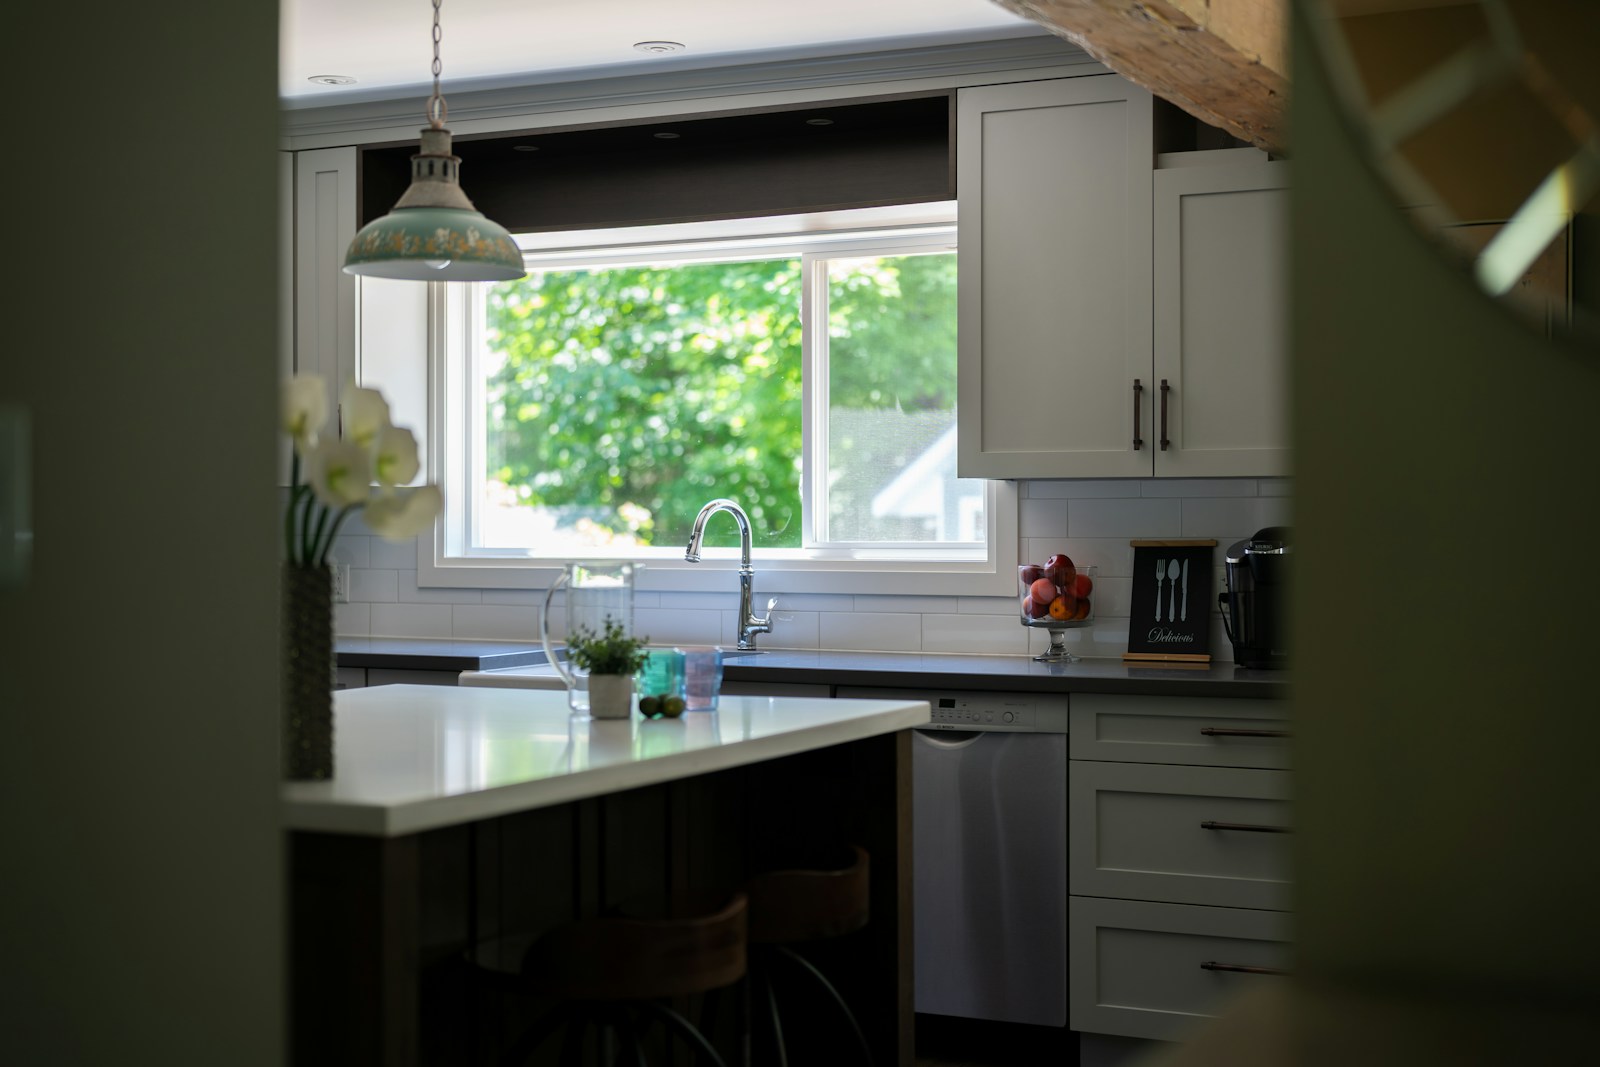
This is the point that catalogs overlook. A bar doesn't have one use, it has three, and they don't all require the same things. breakfast It can be played standing up or in ten minutes sitting down: he wants a surface that's easy to wipe clean and stools that can be pulled out with one hand. homework And for teleworking, they require a low seat with a backrest, a surface at least 60 cm deep, and a power outlet within easy reach.’aperitif, Finally, it is satisfied with a tall and narrow plan, but requires space for the glasses and elbows of four people.
Hence an uncomfortable but useful conclusion: a bar that tries to do everything does all three jobs badly. Choose the dominant use, the one that will be used every day, and accept that the other two will be slightly less comfortable. It's the same trade-off as for a dining room : the part that is truly useful is the one that has chosen its use.
Why does a bar always end up as a dumping ground?
Because a free horizontal surface, at hand height, at the entrance to a living room, is a magnet. Keys, mail, bags, chargers: everything ends up there, and once the first pile is established, the bar ceases to be a place to sit. It's not a lack of discipline, it's a design flaw—nothing was planned for to accommodate what the house deposits.
The solution is mechanical: give these items a more convenient and practical location than the countertop itself. My rule is that a bar countertop should be empty at the end of each day, and this is only possible if there's a storage area for items within easy reach.
- A closed basket or catch-all tray living room side, at hand height, which catches keys and mail before the plan.
- A niche or shelf under the overhang : perfect for placemats, magazines, a fruit basket.
- A socket integrated into the cheek of the bar, so that the chargers stop squatting on the surface.
And what about the lighting above the bar?
The principle can be summed up in three ideas, and I stick to them: a light low and centered Rather than a ceiling light that blends into the room, the plan calls for one light source per meter of bar space, and a suspension height that allows the eye to pass through without dazzling those opposite. The rest—the number of pendant lights, the choice of shade, the color temperature, and their alignment with the island—deserves far more than this paragraph: we dedicate an entire article to pendant lighting above a kitchen counter, and that's where you'll find the details.
One reminder before drilling, however: any installation of a light fixture, outlet, or circuit above or within an island falls under the category of electrical installation. Have it done or checked by a qualified professional, especially in a kitchen where water is always nearby.
Your bar is designed: what about the rest of the house?
Read our guide to furnishing your homeFAQ: Your questions about bar layout
How to set up a bar at home?
Start with the layout: island extension, worktop return, kitchen-living room divider, or freestanding unit. Next, determine the worktop height, choose seating accordingly, check the overhang and depth, and only then select the materials. Reversing this order almost always results in an uncomfortable bar.
How deep should a bar be?
Allow about 40 centimeters for a bar where you can rest a glass and an elbow, and closer to 60 cm if you'll be eating a meal there. The overhang beyond the cabinets should be 25 to 30 cm to allow room for your knees. These are just guidelines; measure them in your own home.
What is the width of a bar counter?
The length is calculated per person: approximately 60 cm of surface area per seat, i.e., 1.20 m for two seats and 1.80 m for three. Below 50 cm per person, elbows touch and the extra space is no longer truly usable on a daily basis.
Kitchen bar: what height should I choose?
Three common heights: 90 to 95 cm at a single level with the worktop, 100 to 105 cm for an intermediate counter, and 105 to 115 cm for a true high bar. The higher the countertop, the more it conceals the kitchen; the lower it is, the more comfortable it is for eating.
How to decorate a kitchen bar?
Treat it like a two-sided piece of furniture. On the kitchen side, functional cabinets; on the living room side, a visually appealing facade: wooden slats, woven caning, a panel painted in a muted shade, or tiles. A brass trim along the edge and a footrest are often all that's needed to complete the look.
Professional bar setup or home bar: what's the difference?
A restaurant or brasserie bar is a workstation: back bar, draft beer service, dishwashing, drainage, service flow, and hygiene requirements all govern it. A home bar is a piece of furniture designed for socializing. The dimensions are similar, but the trades involved are not: a bar/restaurant project requires a specialized designer.
Ultimately, a successful bar isn't defined by its material or its length, but by one very simple thing: someone sits at it without thinking about it, every day. Measure, test with cardboard, choose the use that will occur most often — and let the wood, stone, and rattan do the rest.