Our article in brief
- Climbing stairs is often the largest bare wall of the house : tall, sloping, cut by a railing, lit from above, and viewed only in motion. It is read before it is decorated.
- For a frame gallery, the reference line is not the horizontal but the diagonal parallel to the edge of the steps. Paper templates are mandatory before drilling.
- Without frames, six options work equally well: color panel, panoramic wallpaper, battens, moldings, mirrors, hanging plants.
- There ramp and the risers are two free decorative surfaces, almost always forgotten.
- Security : Nothing on the steps, free handrail along the entire length, and never any stair carpet that is poorly secured.
In almost every house, there's a wall that no one knows how to decorate. It's immense, it climbs two stories, it's cut diagonally by a railing, it receives its light from above—and it's never looked at while sitting, always while walking. It's the stairwell wall. It remains bare much longer than the others, and when it's finally dealt with, three random frames are hung on it, seemingly sliding downwards.
It's not a matter of taste, it's a matter of geometry. A living room wall is decorated from the front, from a standstill, with a clear horizontal reference point. A stairwell, however, is not: its guiding line is oblique, its height triples, its perspective changes with each step. The entire challenge lies there, and that's also what makes it so fascinating—it's the only place in the house where the decoration is revealed in sequence, like a small exhibition that one walks through.
I therefore suggest you do the opposite of what you read everywhere: first understand the cage, then choose the idea. You'll see that the choice becomes obvious once the survey is done.
Read your stairwell before drilling any holes
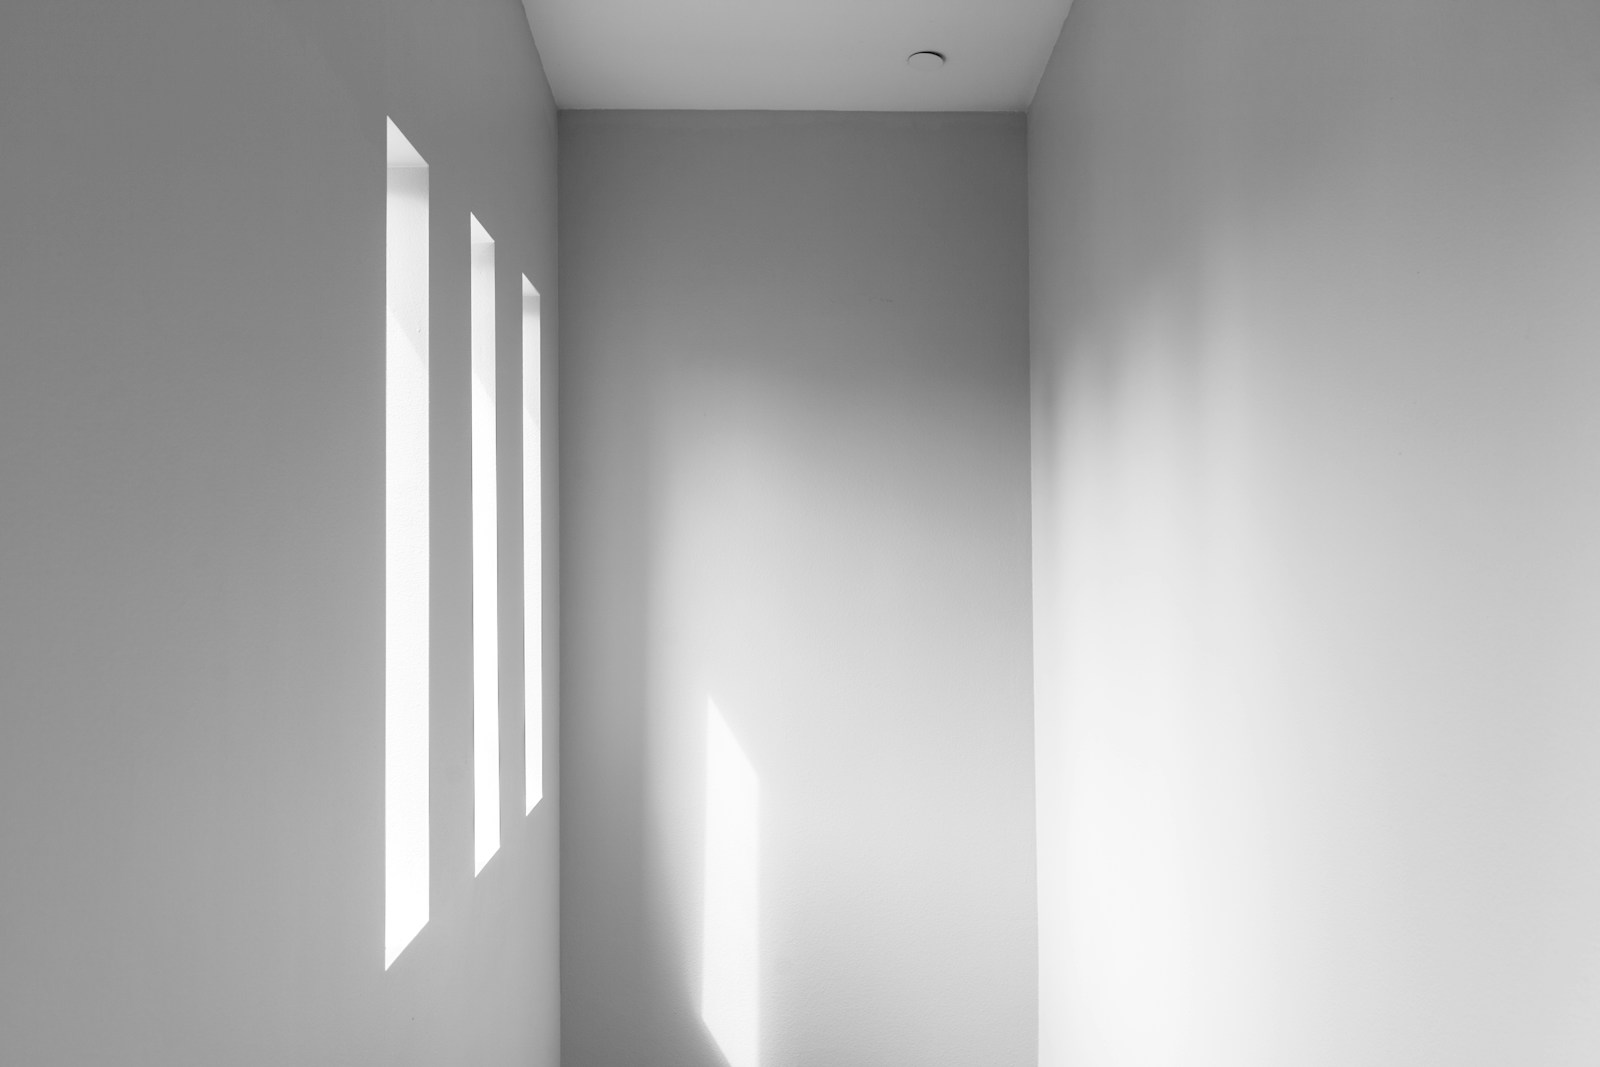
A stairwell isn't a wall, it's a volume. A narrow, very tall volume, crossed by a ramp. The rule I apply before making any decision: I never choose the decorating idea first. I spend ten minutes observing, notebook in hand, and I jot down four things. These four observations eliminate half the options on their own—which saves a huge amount of time, and especially money on unnecessary paint.
What can be seen from below, and from the landing?
Stand at the foot of the stairs, with your back to the first step, and look. You almost never see the entire wall: the flight of stairs obscures part of it, and your gaze naturally travels upwards, towards the light source. Note the area you actually take in—that's where the... first impression from all over the house, often from the entrance.
Then go back up and turn around from the landing. The wall changes in nature: you now see it at an angle, from above, and the lower part—the part that seemed central from below—almost disappears. This is why a stairwell actually requires two decorative areas One for the view from below, one for the view from above. Treating both is what distinguishes a successful cage from a cage that is simply filled.
The last, and most overlooked, perspective is the one you get while descending. On the way down, you look at your feet and the opposite wall. A beautiful composition located behind you will never be seen. Two round trips are enough to map all of this honestly.
Height, slope direction, light: the survey that decides everything
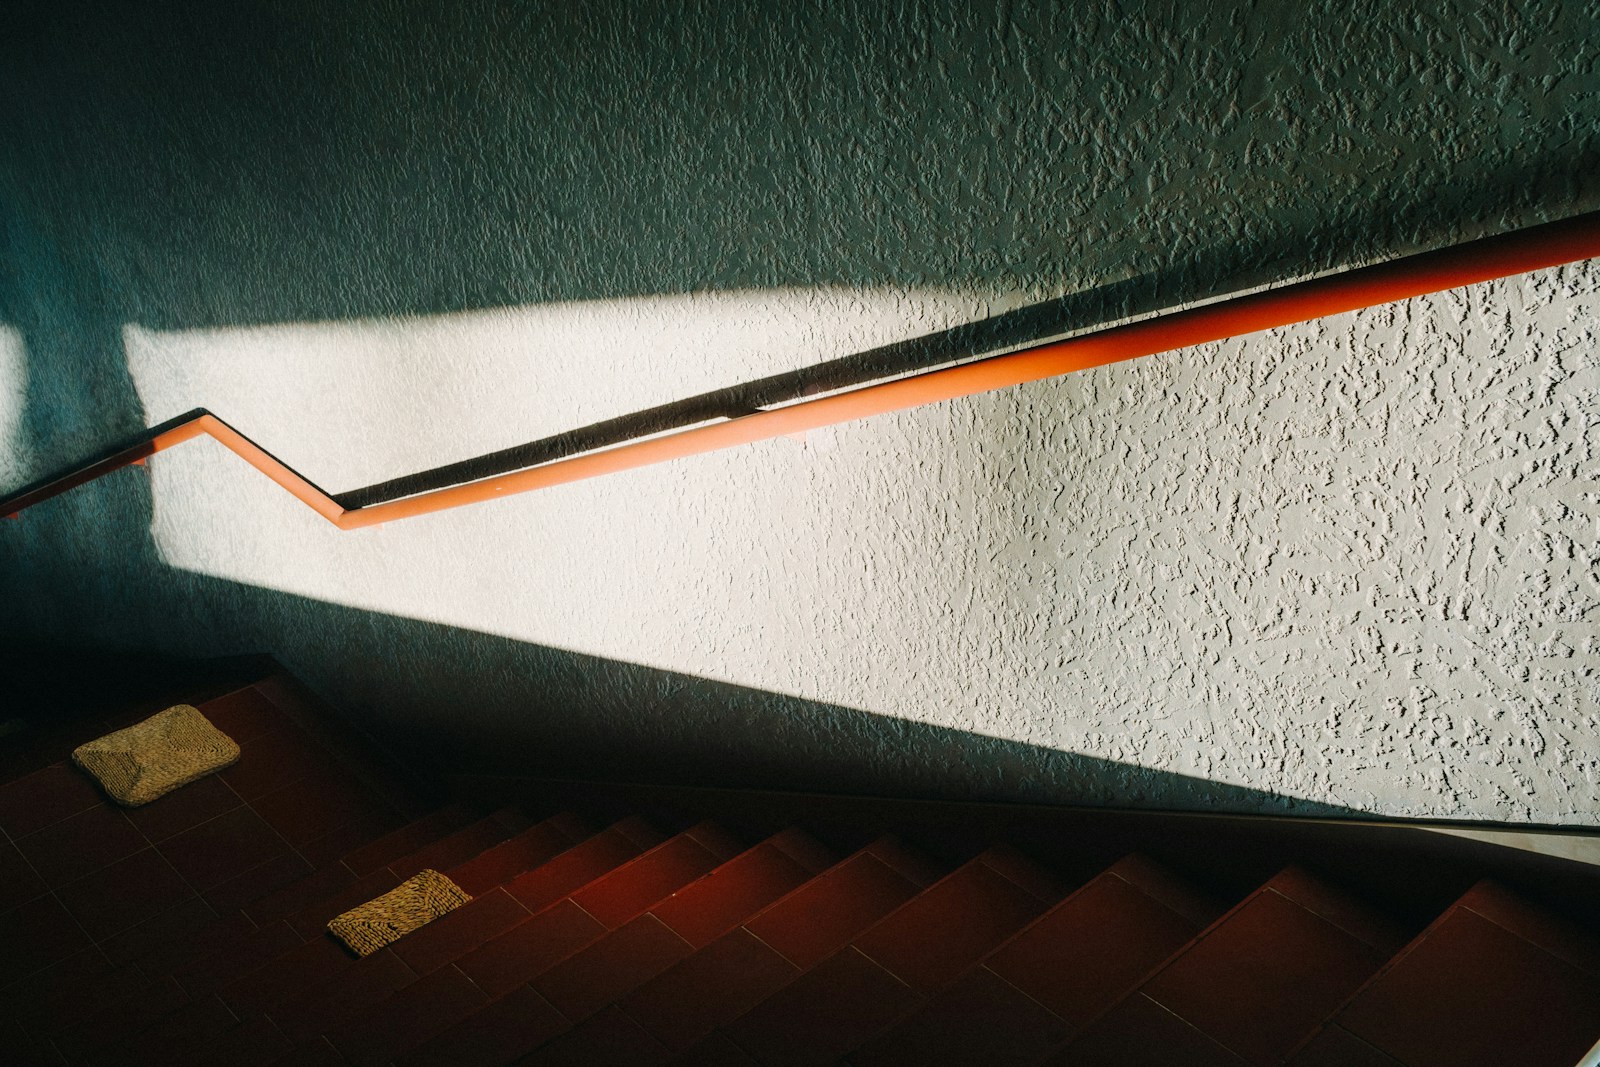
Three measurements, one drawing. The total height First, from the ground floor to the landing ceiling: this is what determines whether your wall is a wall or a cliff. Below a standard floor height, anything is possible. Beyond that, on a two-story through-stairwell, it will be necessary occupy the height and not decorate it from the bottom, otherwise the top will remain a large white void that overwhelms everything else.
THE direction of slope Next, and this is the most useful measurement of all: does your staircase ascend from left to right, or from right to left, when you are at the bottom? This diagonal will be the framework of any design. Draw it on a piece of paper, even if it's a rough sketch—you've just created your project template.
There light Finally. In a stairwell, it almost always comes from above: a skylight, a landing window, a transom. Grazing vertical light is unforgiving—it reveals every flaw in the plaster, every crooked frame, every poorly sanded edge of molding. Go over it again at two times of day, morning and late afternoon. A wall that receives an oblique ray of light at the end of the day doesn't require the same finish as a wall that's always in shadow.
In a stairwell, it is not the wall that dictates the decoration: it is the diagonal of the steps and the direction of the light.
The gallery of frames: the diagonal, not the horizontal
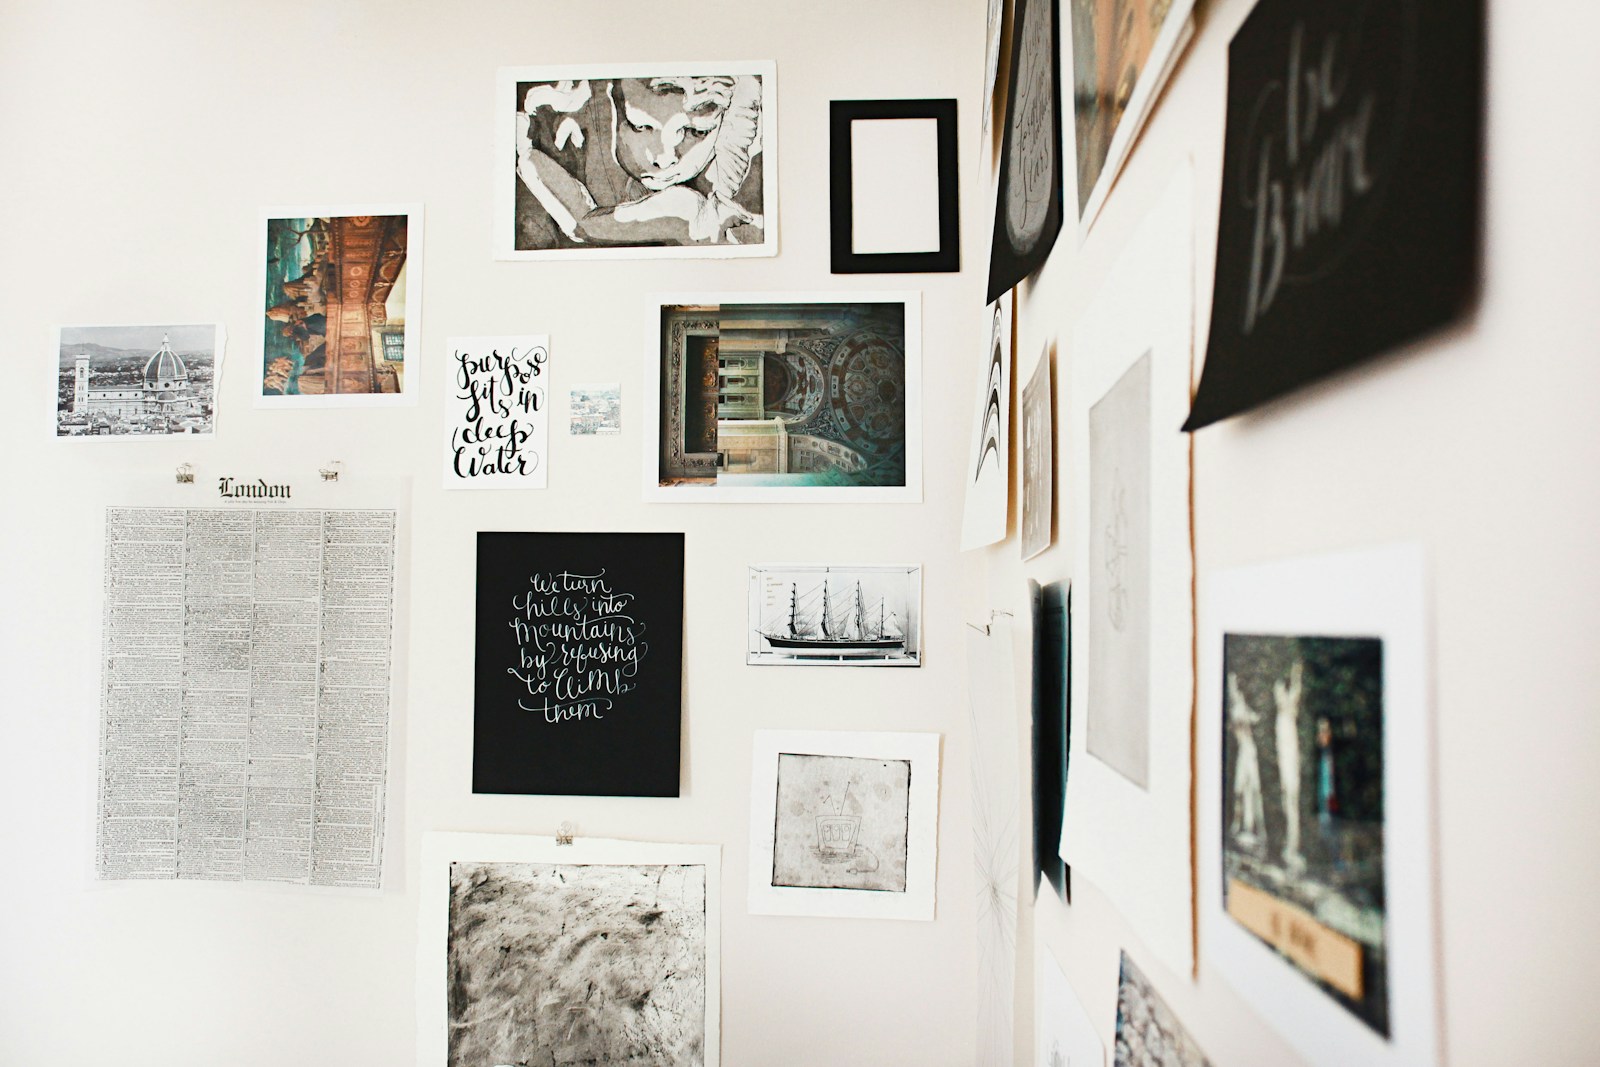
This is the number one request, by far. It's also the one most often overlooked, for one simple reason: we apply the same reflex to the stairwell wall as we do to the living room wall, where we align everything horizontally. In a stairwell, this horizontal line doesn't visually exist. What the eye reads is the slope.
Why is the reference line a diagonal?
Mentally draw a line that passes through the nose of each step: that's the stride line, And it's parallel to your handrail. That's your reference point. Your frames should be arranged on a line parallel to that one, at a constant distance. You get a composition that rises with you, calmly, and seems to hold itself up.
In practical terms, there are two implementation options. The median line The centers of all the frames fall on this diagonal, regardless of their size. It's the most elegant, the most forgiving with mixed formats, and the one I recommend first. Or the top edge aligned The tops of the frames follow the diagonal, the bottoms drop freely. This creates a more graphic, more architectural effect, but requires frames of similar widths to avoid looking lopsided.
What doesn't work, however, is the stepped alignment with horizontal steps, where two frames remain level and then you move up one step. The result creates steps within steps, and the eye no longer knows which geometry to follow. If you want horizontality, there's only one case where it works: on the wall of the landing, which is a flat wall like any other.
Paper templates, before the drill
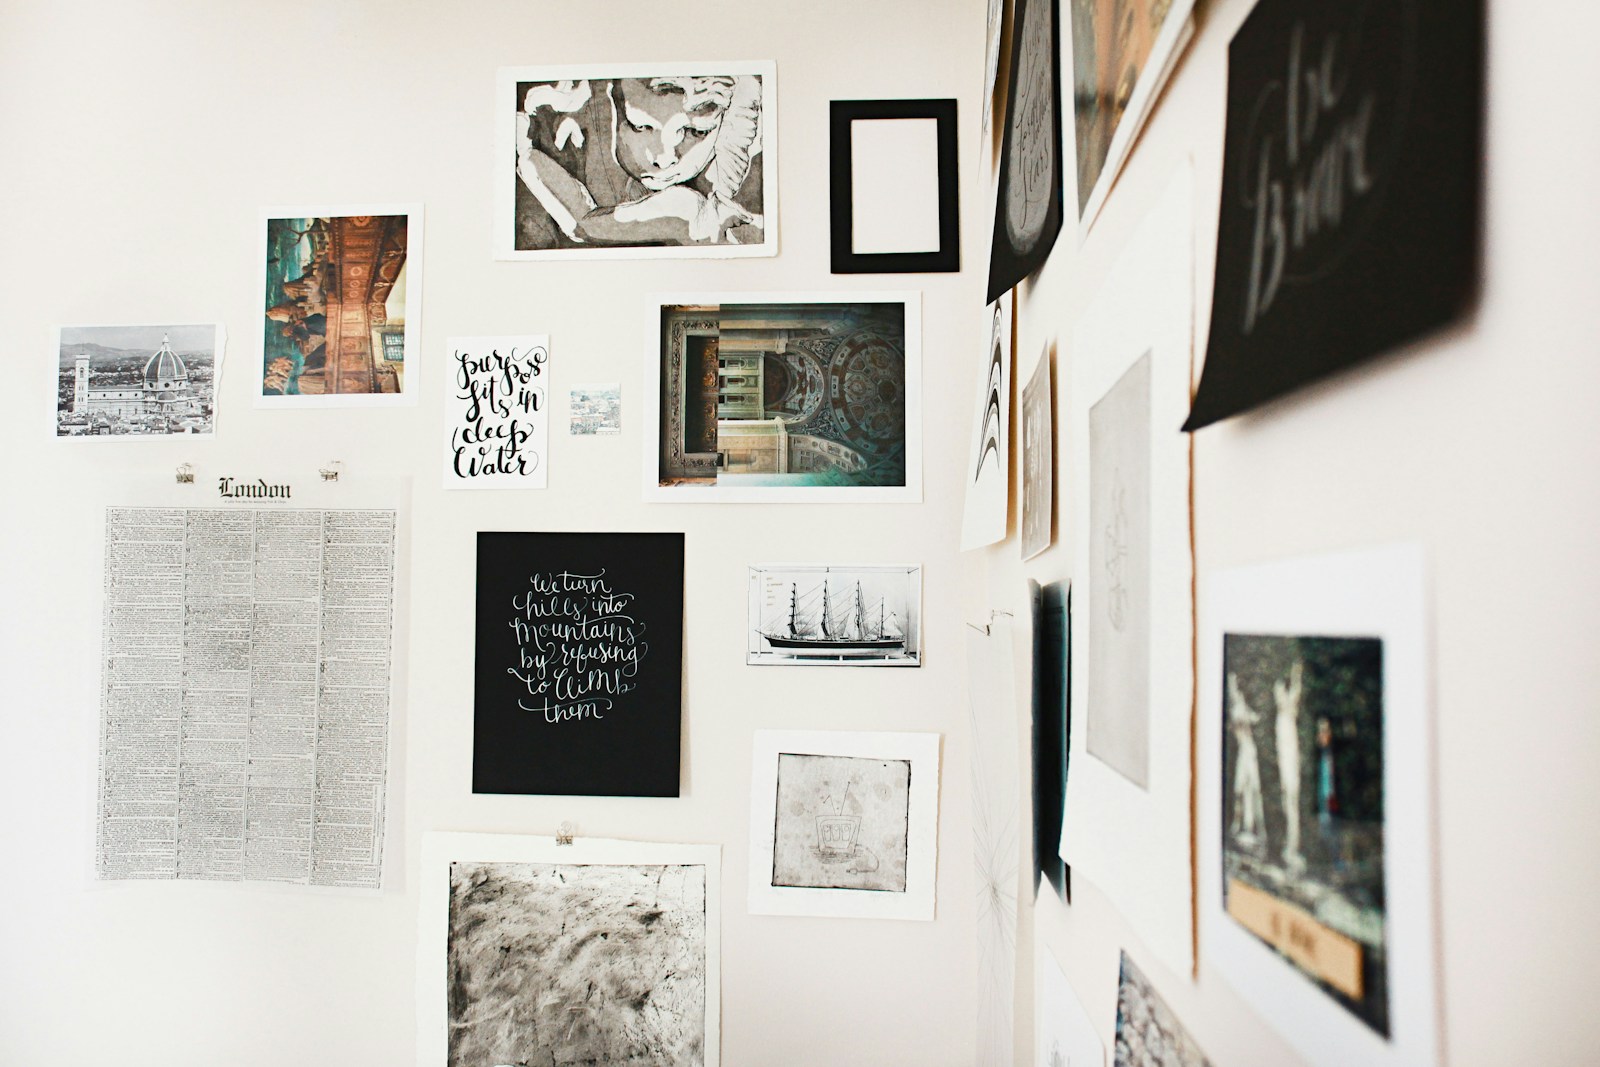
This is the step everyone skips and no one regrets having done. On a stair wall, a poorly placed hole cannot be fixed: you're balancing on a step, the repair will be visible in the raking light, and you won't want to start over.
- Trace each frame onto kraft paper or newspaper, and cut to the exact size.
- Mark with a pencil, on each template, the precise location of its attachment point — not the center of the frame, the hook or the wire stretched across the back. It is this misalignment that causes the hanging to fail.
- Tape the templates to the wall with repositionable tape, following your diagonal.
- Go down, look from below. Go back up, look from the landing. Leave them in place for two or three days and walk past them.
- Only pierce afterwards, through the template, directly on the marked cross. The paper will come away, the hole will be in the right place.
A mason's line or a simple string stretched diagonally during installation replaces a spirit level—which is useless here since your reference point is angled. And if there are several of you, one holds the line while another steps back and judges: the judgment is always made from below.
At what height should you hang it when you're moving?
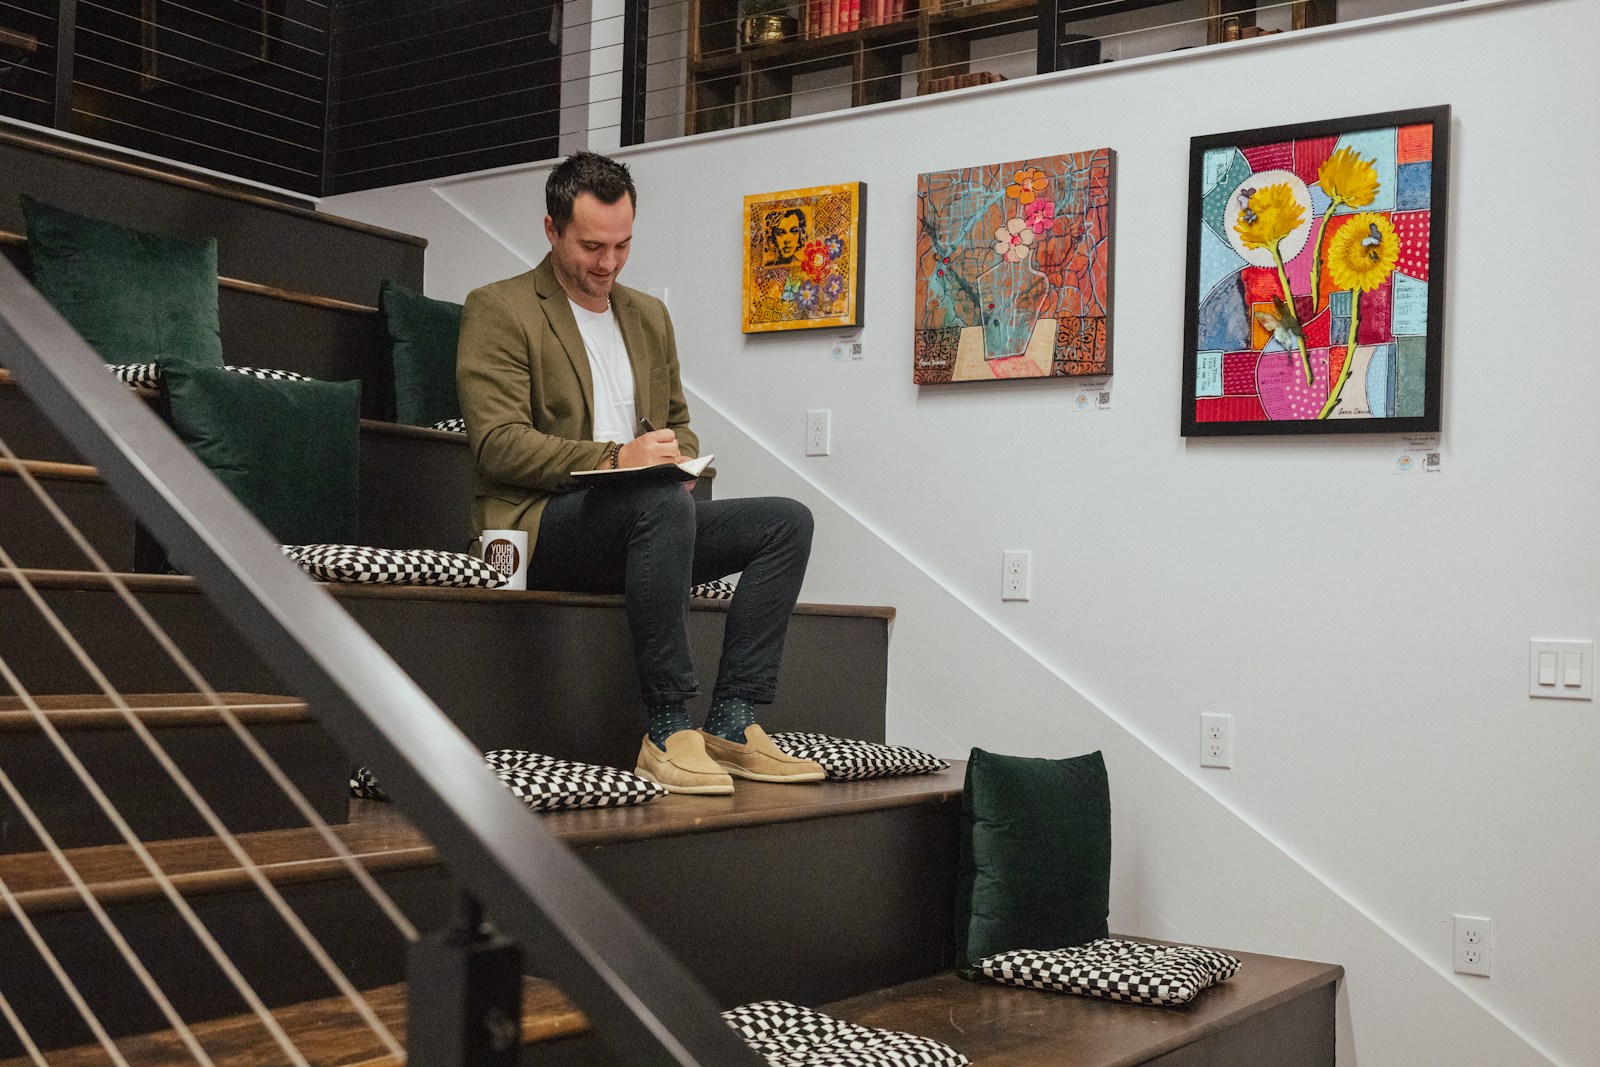
Herein lies the true subtlety. In a room, you hang pictures at eye level for a standing person—a frame center around 150 to 160 cm from the floor, in terms of design scale. On a staircase, this reference point disappears: your eye rises two or three centimeters with each step, and it's already turned upwards.
The right approach is therefore to reason step by step. Go up, stop on a step, and find the height of your gaze on the wall: that's where the center of the corresponding frame is located. Do this for two or three steps, draw the diagonal connecting these points, and extend it. You've just drawn the only line that's truly accurate for your staircase, taking into account its slope and height. No universal guideline will do better.
Keep the spacing close: about 5 to 8 cm between frames. When moving, a dense composition reads as a single object, while widely spaced frames are read individually and appear scattered. Mix formats, but maintain a common thread—a consistent frame color or a dominant color in the images. And leave some space above the handrail: a frame that almost touches the railing will get in the way and cause your hand to bump into it.
💡 Tip — Photograph your templates from the bottom of the stairs, then look at the photo on your phone. The screen reduces the scene and shows you the composition as a whole: imbalances in the diagonal jump out at you, whereas they are invisible when you have your nose right up against the wall.
Dressing the wall without a single frame: six ideas
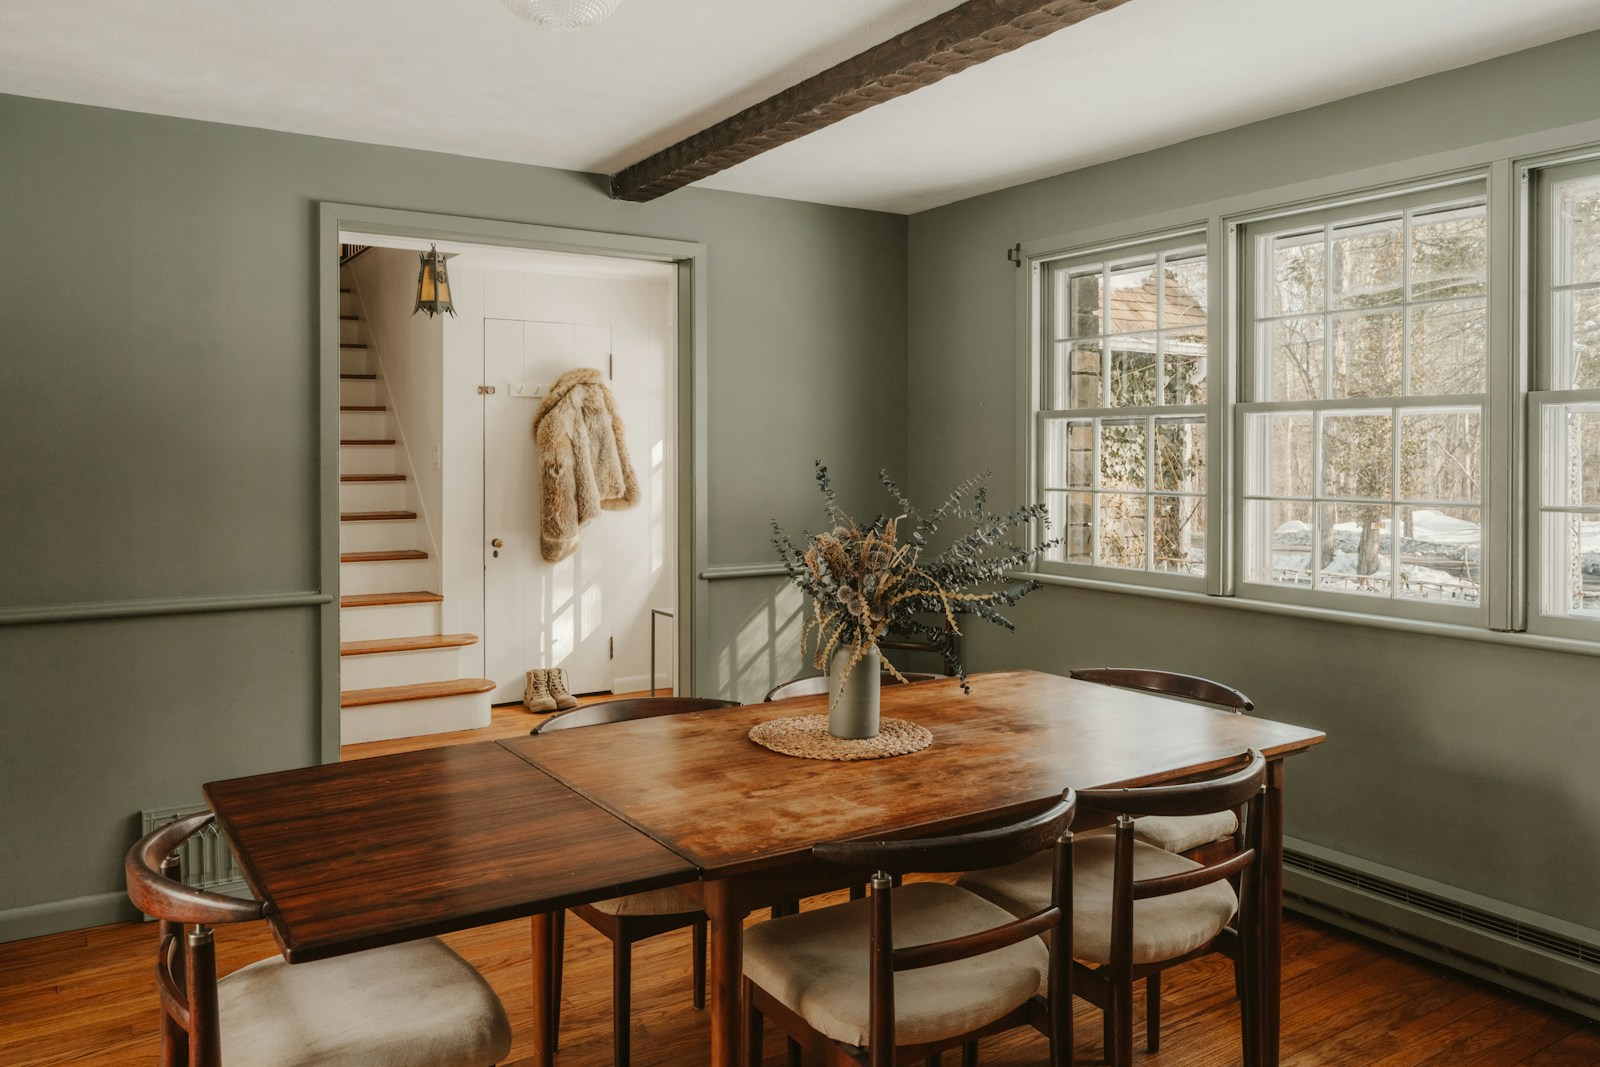
Frames aren't the only answer, and sometimes they're the wrong one. On a very tall cage, a gallery only occupies the lower third and emphasizes the empty space above. On a narrow cage, it further restricts the passage. Here are the six types of solutions I use, from the simplest to the most elaborate.
The colored section: treating the wall as a background
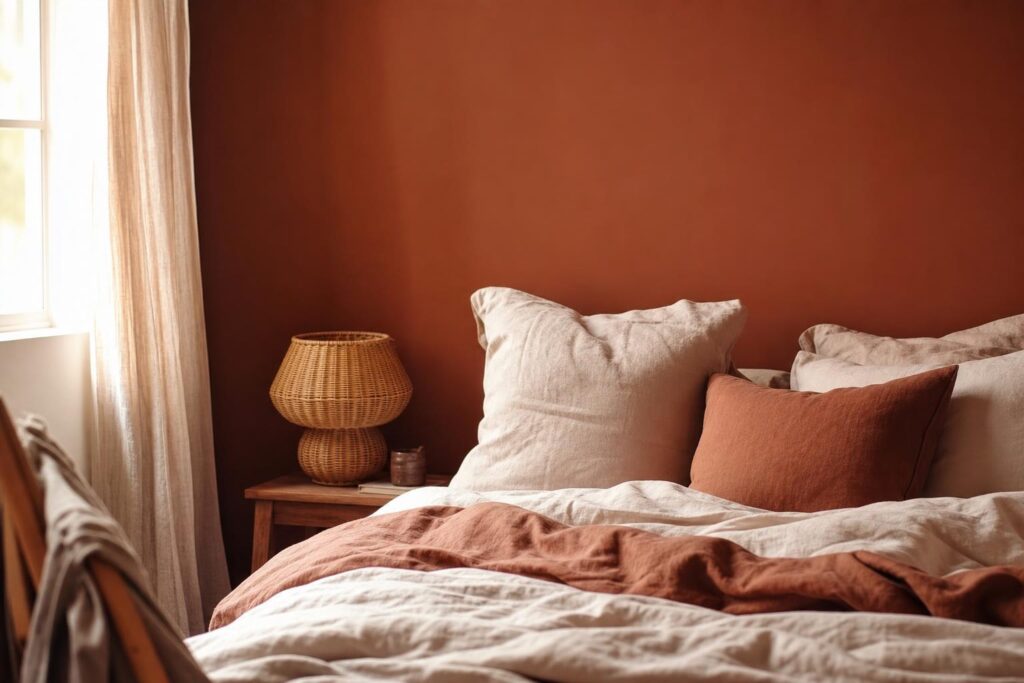
The most economical and radical solution. A deep shade—burnt sienna, olive green, ink blue, cocoa brown—transforms the stairwell into an enveloping volume instead of an empty vertical corridor. Contrary to popular belief, a strong color doesn't shrink a stairwell: it softens the angles, and the space becomes more inviting. Dark stairwells, without windows, are the ones that benefit most from embracing color rather than being limited by a dull white. To choose your shade, our trendy colors of the year they provide tested associations.
The most elegant option is to paint only part of the wall, in along the slope. A colored baseboard, with its upper line parallel to the nosing of the steps and the upper part light-colored, immediately makes the stairwell appear more grounded and the staircase more defined. It's a painting project, nothing more, and probably the best effort-to-result ratio of all the options on this list.
Panoramic wallpaper, battens, moldings: adding depth
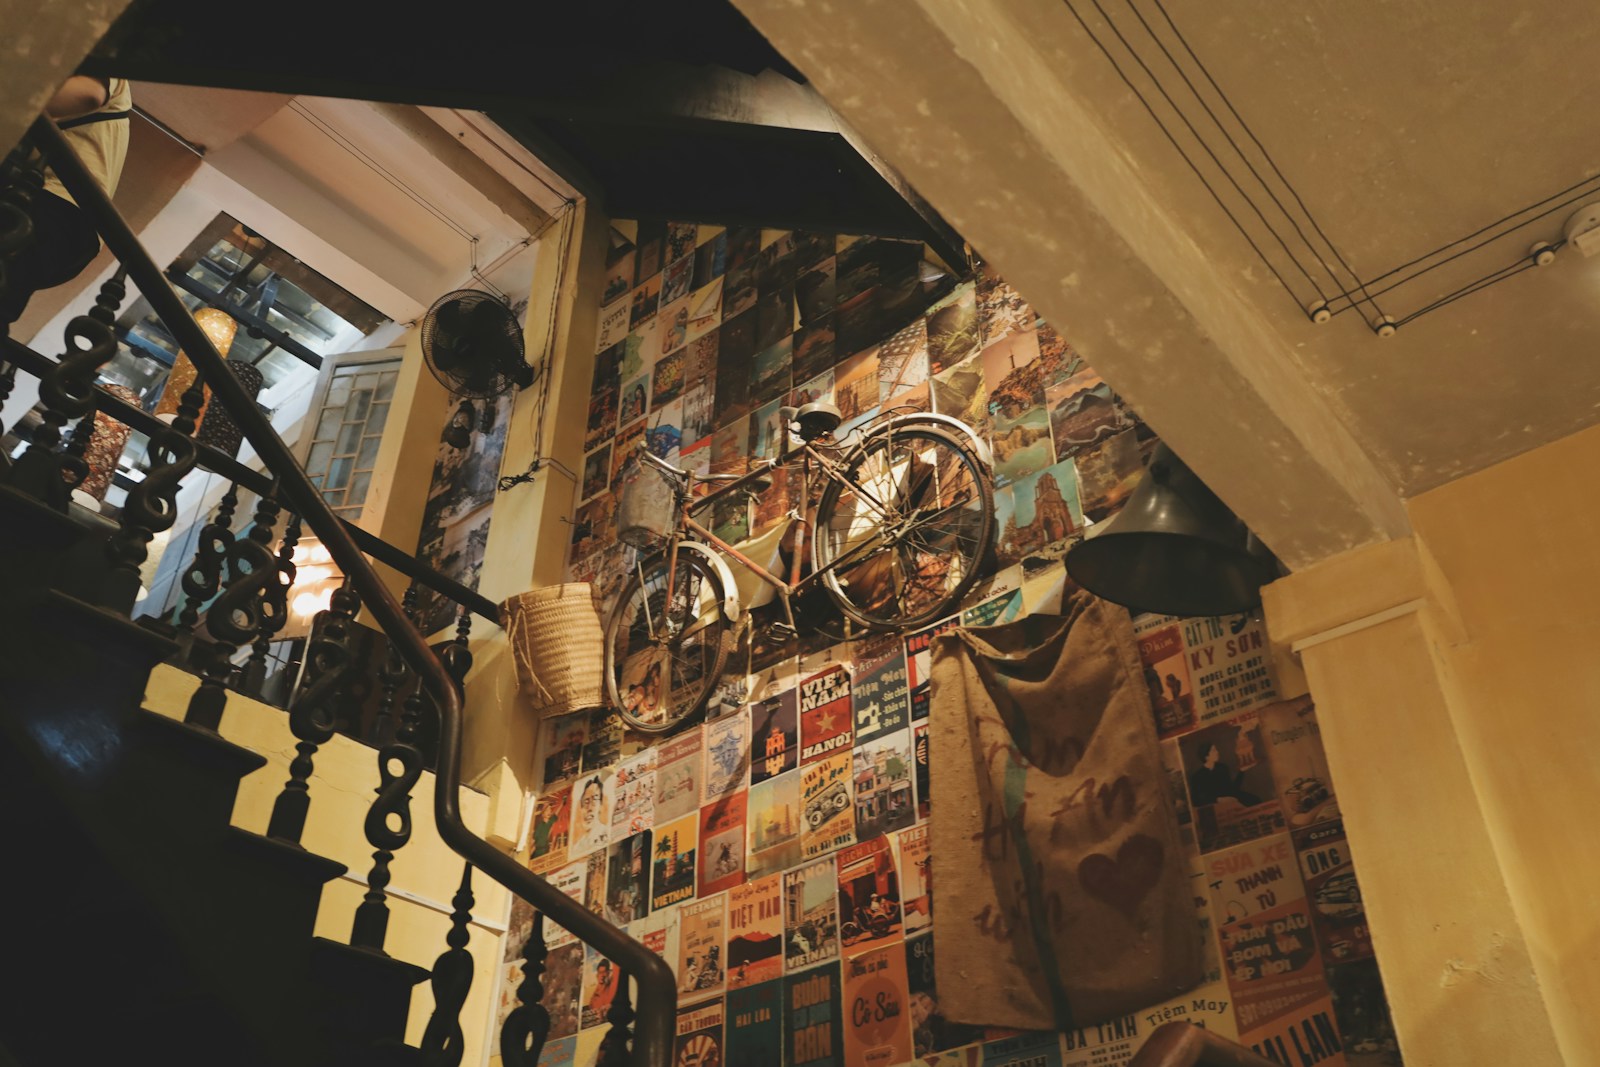
THE panoramic wallpaper is the only solution that truly exploits the great height: a continuous design—foliage, landscape, or jungle—that unfolds across the entire flight of stairs and is revealed as one ascends. It's an ancient art—the wallpaper collections of the Museum of Decorative Arts They show how much these continuous decorative elements shaped European interiors. Two precautions: take measurements of the highest point, and plan for the angled cut along the railing and stringer. On a sloping wall, having two people install it is more than just a suggestion. The reasoning for scale is the same as for choose a wallpaper that visually enlarges a room.
THE vertical wooden battens They play another card: they bring warmth, absorb some of the echo from the stairwell, and above all, their verticality contrasts sharply with the diagonal of the steps—this contrast is very beautiful. They are stopped either in a straight line or by following the slope. The moldings And the plaster frames, for their part, provide structure without thickness: a few rectangular panels placed following the rise are enough to give a bare cage the look of an old house.
Mirrors, wall lights and hanging plants
A mirror In a stairwell, a large light fixture does two things at once: it reflects light from top to bottom, and it visually opens up the passageway. A single large format, placed opposite the light source, is better than three small ones. Two common-sense precautions: it must be securely fixed, and it should never reflect the image of the steps in a way that could deceive the eye of someone descending.
THE rhythmic wall lights — two or three, regularly spaced along the ascent — are in my opinion the most underestimated solution of all: they decorate and resolve the lighting in one fell swoop. Finally, the hanging plant, A pothos or philodendron hung high, its stems cascading down into the empty space of the cage, brings life to a place where nothing else will. Provided, of course, that it can be watered without acrobatics: a plant that can only be reached with a ladder will eventually dry out.
| Solution | What she settles | The cage where she shines | Point of vigilance |
|---|---|---|---|
| Picture gallery | Personalize it, tell a story | Standard height, wide and unobstructed wall | Follow the diagonal; templates are required. |
| Color panel | Cold space, impersonal cage | All of them, including dark and narrow ones | Test the shade at two o'clock in the day |
| Panoramic wallpaper | Great height empty | Two-level through cage | Diagonal cuts along the stringer |
| Wooden cleats | Lack of substance, echo | Bare cage, concrete, contemporary style | Footprint in a narrow passage |
| Moldings and baseboards | A flat, characterless wall | Old house, high cage | Finishes visible in raking light |
| Mirror | Poor lighting, narrow passage | Facing a landing window | Solid fixing, no illusions on the steps |
| Hanging plant | Rigid cage, lifeless | Large cage with central void | Remain accessible for watering |
In video: "How to decorate your staircase?" (Secret Decoration Tip) — a useful overview to visualize the effect of different options before deciding.
The handrail and risers, two forgotten surfaces
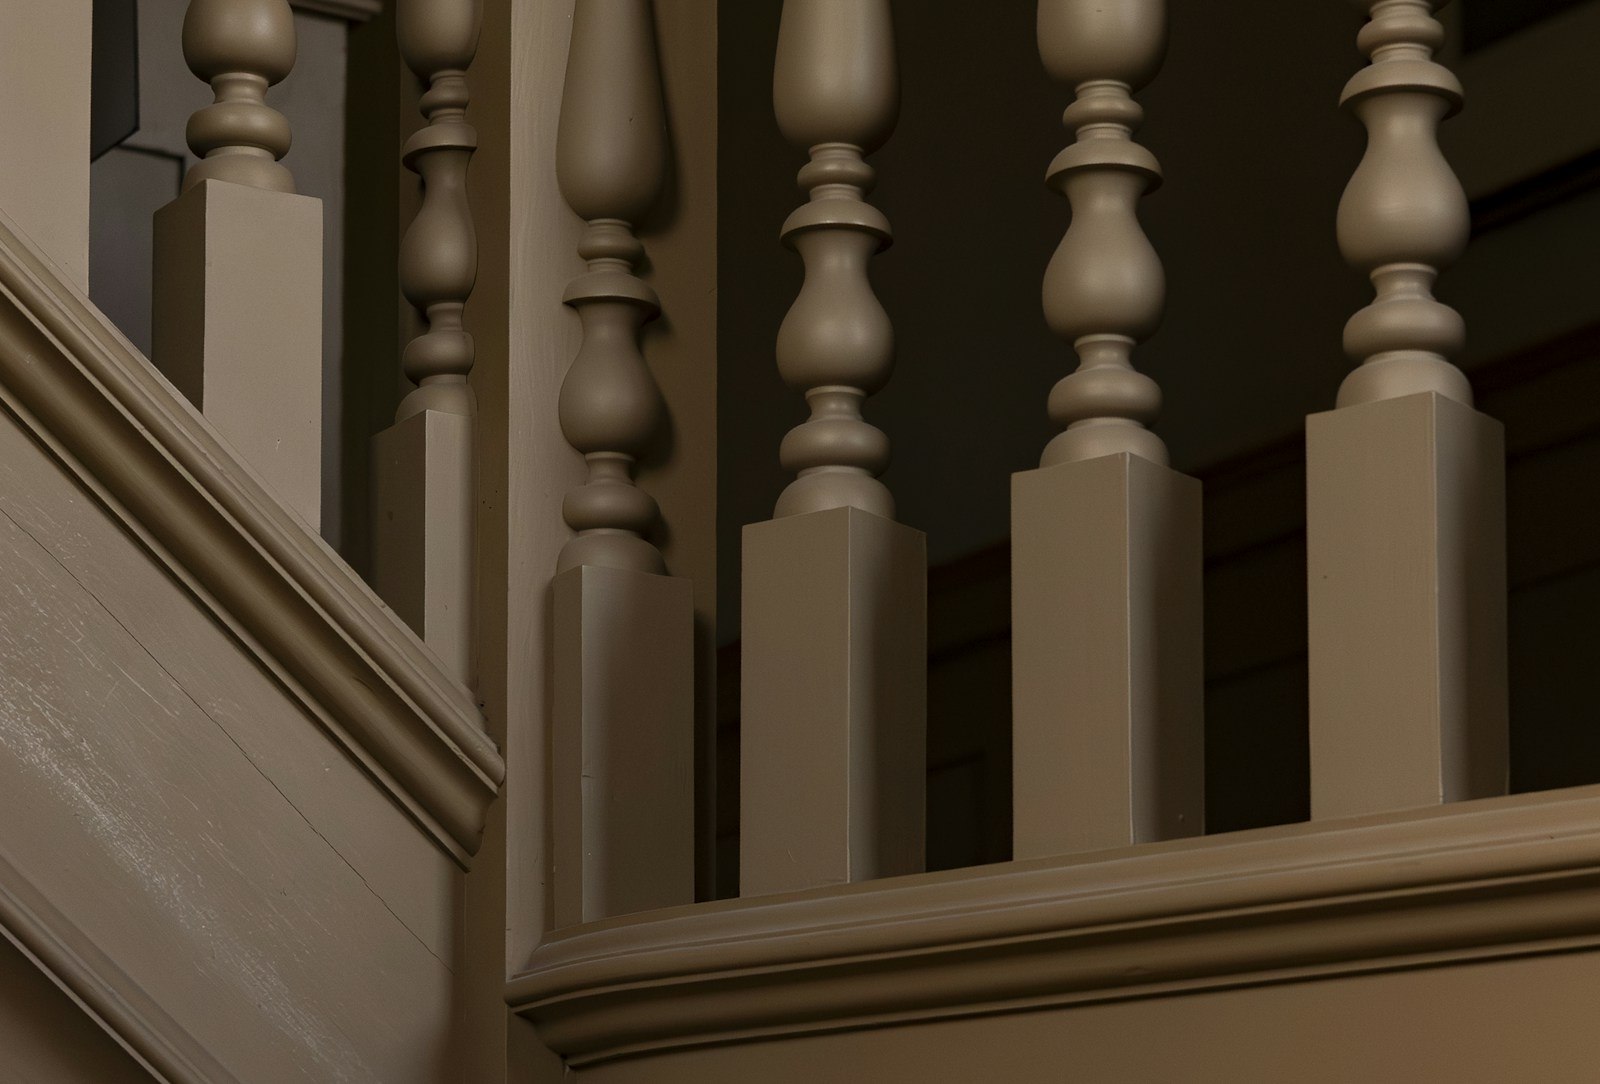
We always talk about the wall, never the staircase itself. It's a shame, because it offers two surfaces that are already there, already visible, and cost almost nothing to treat. In many stairwells, addressing the staircase first is enough to solve the problem—the wall can then be left alone.
Repaint the handrail, stringer and balusters
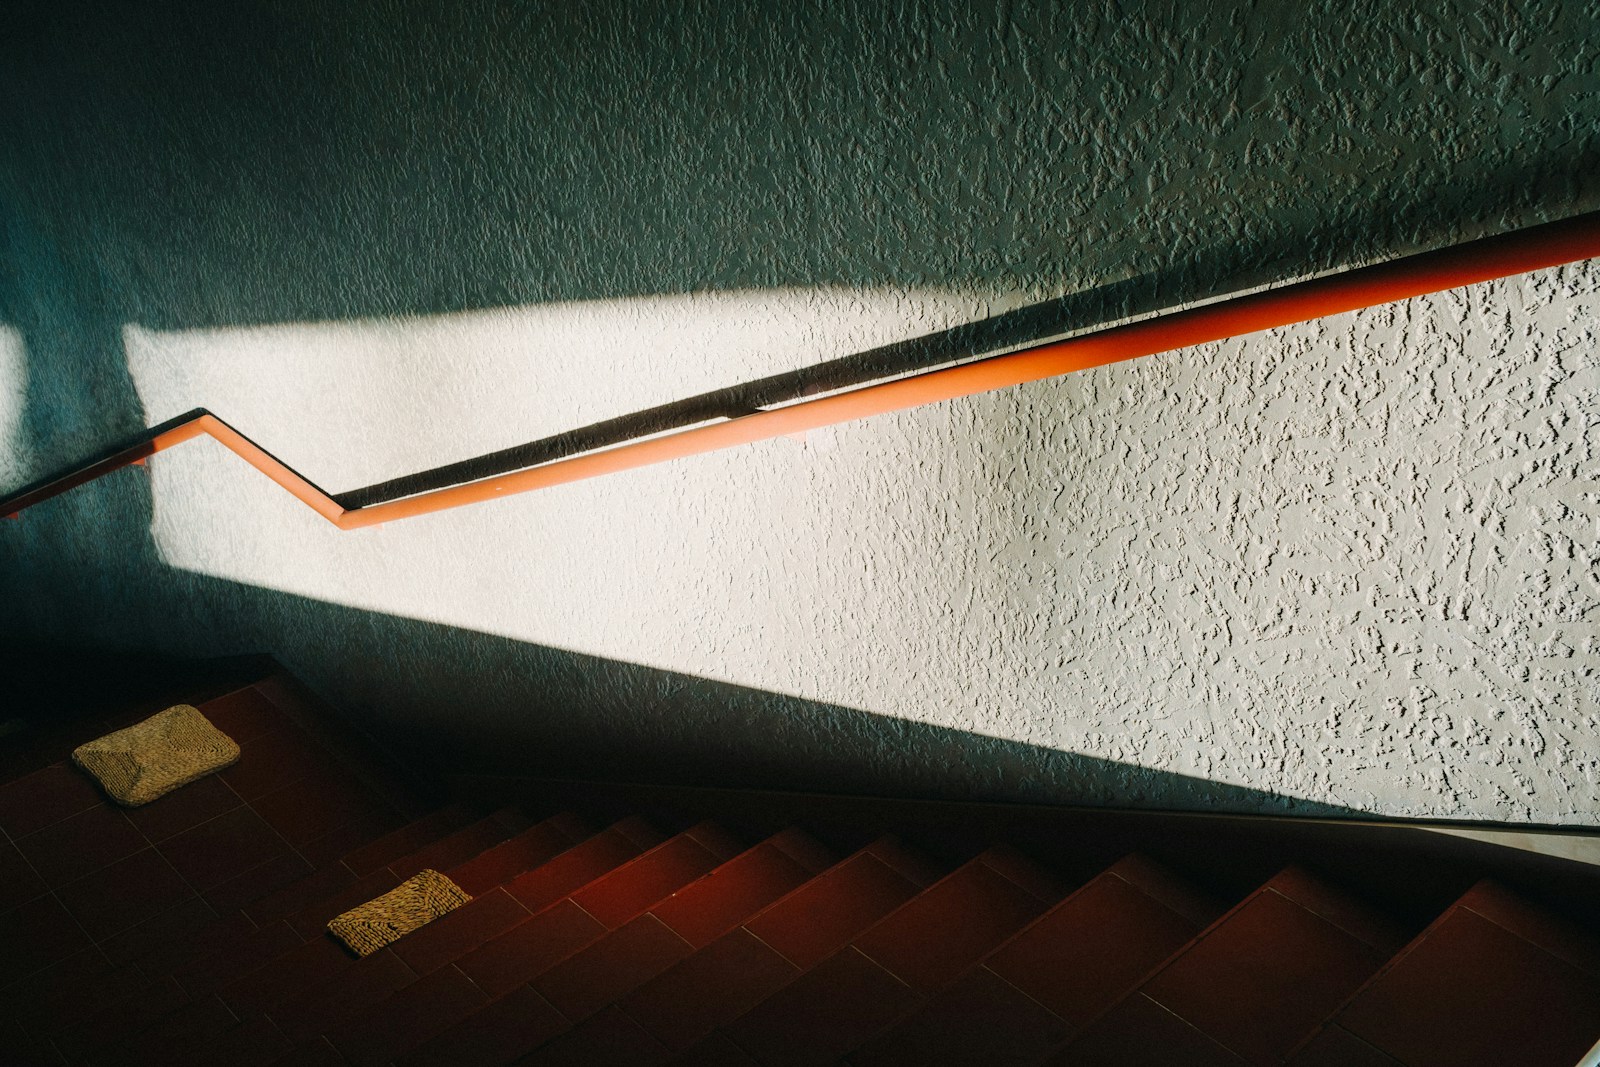
A varnished wooden staircase from the 1980s, with its orange banister and turned balusters, single-handedly overwhelms the atmosphere of an entire entryway. Repainting it radically changes the perception of the stairwell. Two approaches work well. The tone on tone with the wall: the railing disappears, the cage appears larger and calmer. Or the stark contrast — balusters and stringer in a dark shade, handrail left in natural oiled wood: the staircase becomes a graphic object, and this light handrail in the middle of the dark is the combination I prefer.
One important detail: the handrail This is a separate matter. It's a piece you handle ten times a day, so it needs to remain pleasant and secure to the touch. A durable oil or satin finish is best, never a velvety, slippery effect, and above all, no excess thickness that would hinder grip. Repainting a railing is decorative; modifying its structure, fixings, or height is not. For everything related to the railing's durability, see our article on the... railings to install yourself or to entrust to a professional asks the right questions.
The risers: the decorative band that can only be seen when going up
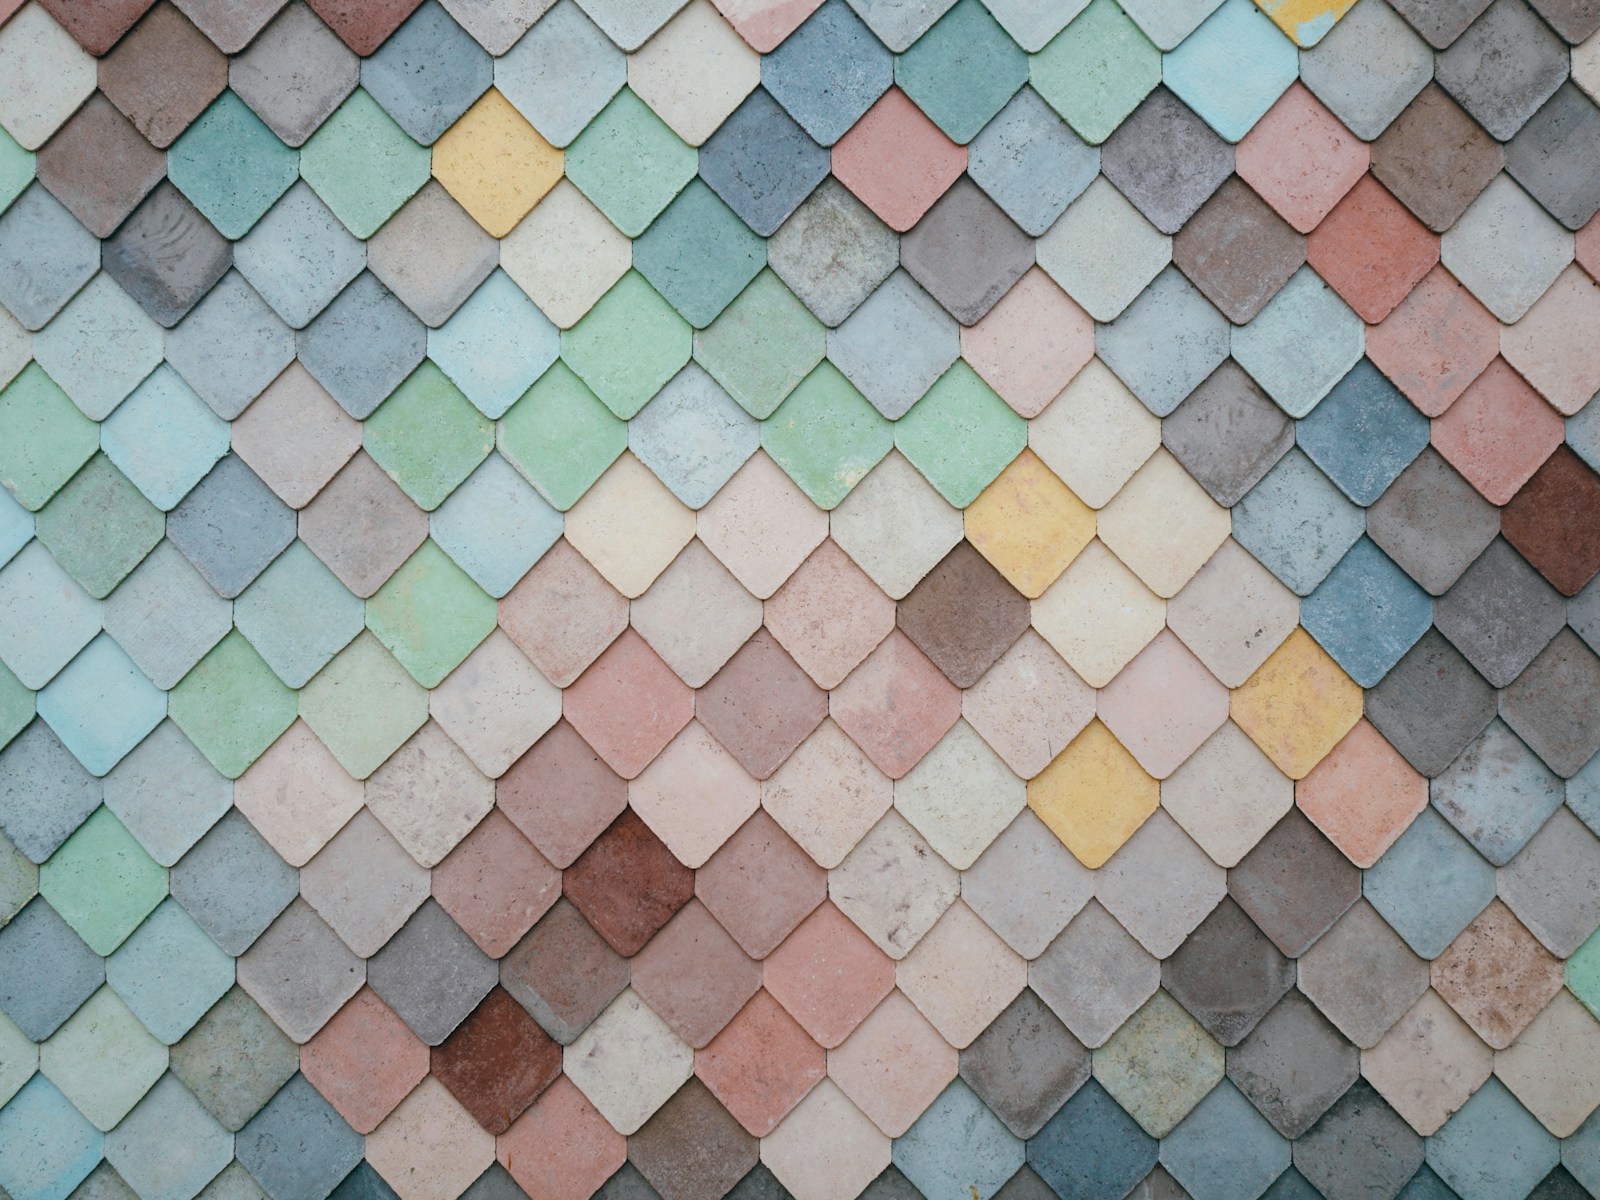
The riser is the vertical face of each step. Viewed from the front, from below, it forms a stack of perfectly regular bands: the best graphic element in the entire house, and the one we look at most often without thinking. They can all be painted in the same rich shade, a gradient can be created from darkest at the bottom to lightest at the top, or they can be covered with patterned tiles reminiscent of cement—a nod to the floors of houses in the South, provided the rest of the stairwell remains understated.
Two simple rules. The lap, The horizontal surface where you place your foot should never have a pattern or a slippery finish: you must be able to read the edge of the step instantly, and a well-contrasted nosing is a real comfort, especially when going downhill and for tired eyes. And if you do choose a pattern, stick to a single idea: patterned risers plus patterned walls plus a colored handrail becomes illegible. Our ideas for wooden treads and risers They clearly demonstrate this balance between substance and simplicity.
Lighting: often the real problem, even before the decor
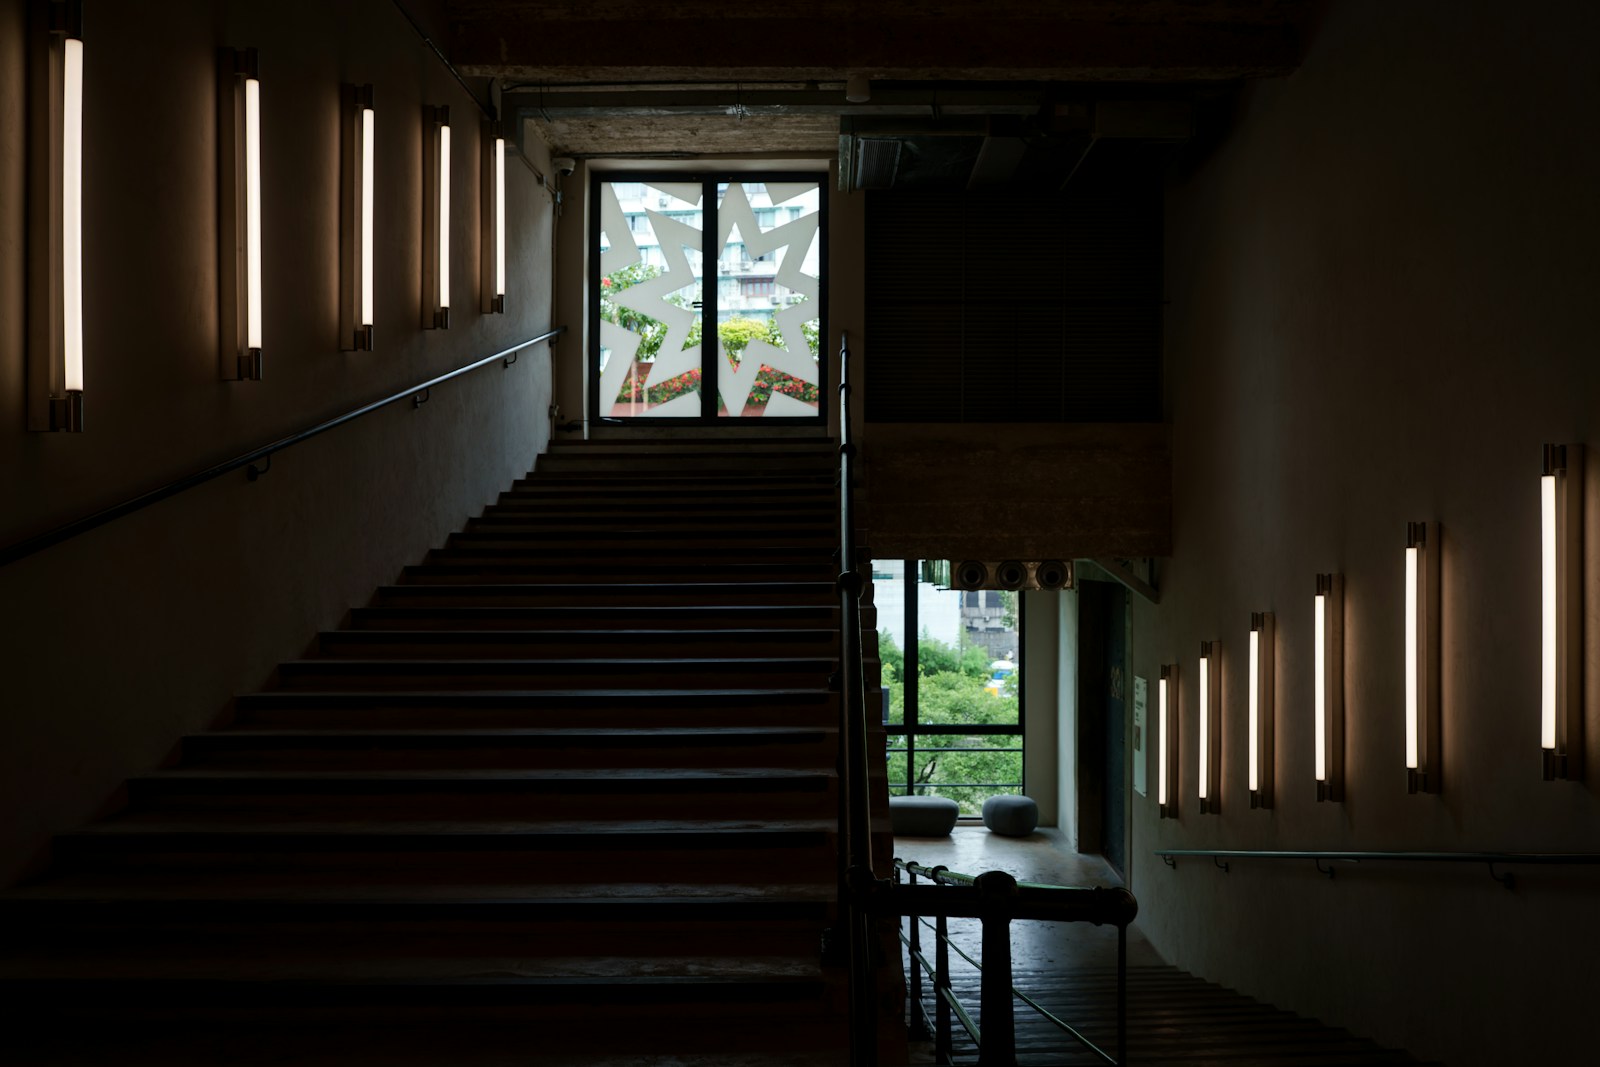
Let me be frank: in half of all stairwells, what we mistake for a decorating problem is actually a lighting problem. The wall isn't drab, it's poorly lit. And no amount of art gallery will ever compensate for a single ceiling light hanging five meters above the ground.
Why does a cage lit from above dwarf the wall?
A single light source at the top produces a vertical, grazing light. It glides along the wall instead of illuminating it, emphasizes every imperfection in the plaster, darkens the bottom of the staircase, and casts the banister's shadow across everything you've hung. It's the most common and least favorable configuration.
The correction is not about making it stronger, but about putting several sources below. Three sources of moderate light distributed along the height create a habitable space; a single, powerful source at the top creates a well. A long pendant light spanning several levels of the stairwell remains a very beautiful touch, provided it is complemented at the bottom—and that it can be cleaned, which is no small detail in a stairwell. In this respect, the rattan and bamboo light fixtures have a real advantage: their braiding casts soft shadows instead of a hard halo.
Create rhythm with wall lights, and see the steps
Wall lights are the most elegant and easiest solution. Two or three along the staircase, evenly spaced and positioned on the same diagonal parallel to the steps, distribute the light, and the alignment itself becomes a decorative element. Choose low-profile lights to avoid snagging anything on the stairs, and angle them so as not to dazzle anyone coming down.
- A switch at each end, Downstairs and on the landing: turn on the light before going up, turn it off afterwards. This is the most useful point in this whole section.
- A warm, non-glaring light, directed towards the wall or upwards rather than into the eyes.
- The steps are visible before anything else. : we must be able to see the nose of each step, including the first and the last.
- Low lighting or a discreet nightlight For night journeys, more effective than a harsh overhead light that is never turned on.
- Any work on the electrical installation high up in a cage, one entrusts oneself to a professional: one works on an inclined plane, without stable support.
Adjust the lighting first, then consider the wall. It's quite common that after installing two wall lights, the room suddenly feels inviting, and you decide to leave the wall almost bare. That's a success, not a failure.
Things you shouldn't do on a staircase
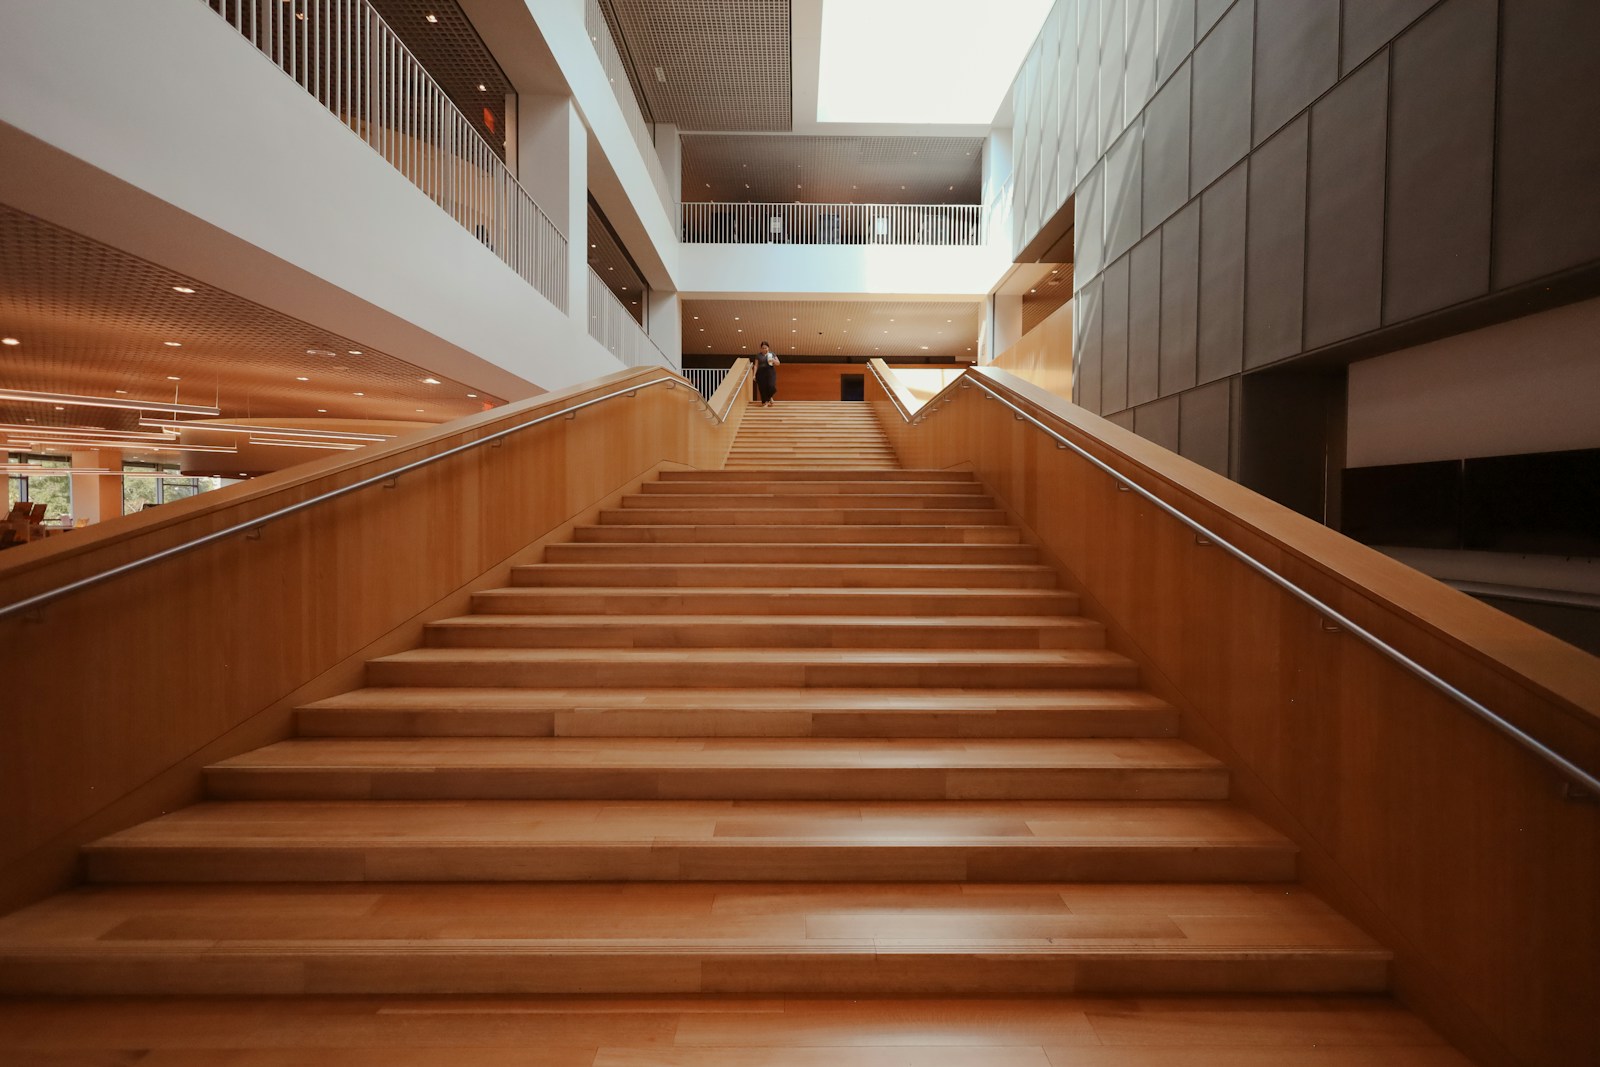
Let's be clear, because most inspirational articles forget it: a staircase is a place where you can fall. It's the part of the house where you move around, balancing precariously, often with your hands full, sometimes in the dim light. Good stair decoration is decoration that never obstructs movement. This constraint isn't a hindrance—it simply requires you to decorate the stairs. walls, Which is precisely the subject.
Nothing on the steps, and a free handrail
We don't ask Nothing on the steps. No flowerpots on the sides, no stack of books in a corner, no basket "waiting to be brought back up," no decorative candlestick, no garland laid on the floor during the holidays. These objects are exactly where your foot lands when you miss a step, and you see them all the less because you put them there yourself and no longer look at them. The staircase is not a shelf.
There handrail The hand must remain free and easily graspable along its entire length: it must be possible to hold it from one end to the other without letting go, including at the start and finish. Therefore, no garland wrapped around it, no ribbon, no frame or hook that encroaches, nothing that forces the hand to unhook itself in the middle. This is the reflex action that saves you when your foot slips, and it only works if it is continuous.
The stair carpet: securely fastened, or not at all
A stair runner adds real warmth, muffles the sound of footsteps, and softens the wood. But a stair runner If it's not properly secured, it's a danger., Without any possibility of nuance. A carpet runner simply laid down, a carpet with a corner lifting up, a textile that ripples or slips underfoot on a descent: this isn't an aesthetic flaw, it's a fall hazard. It's all or nothing—a stair carpet is installed securely on the step, covering its entire surface, or it isn't installed at all.
- No decorative elements reduce the passage width or extend onto a tread.
- Nothing that could fall on the fly: mirror, tablet, poorly fixed wall light.
- The nose of each step remains clearly visible, without any pattern that obscures its reading.
- No cables or electrical garlands cross the steps.
- Any work on the structure of the staircase or the railing should be entrusted to a professional: the network of chambers of trades and crafts allows you to identify a carpenter or metalworker near you.
Repainting, hanging, wallpapering, adding a wall light: decoration. Moving a post, drilling through a stringer, changing a height, modifying a railing: construction work. The line is clear, and there's no merit in crossing it alone.
Your staircase deserves better than a white wall
See our ideas for wooden steps and risersYour questions about stairwell decor
How to decorate a staircase?
Start by noting the height, the direction of the slope, and the light source. Then choose a single strong element: a gallery wall aligned diagonally with the steps, a splash of color, panoramic wallpaper, decorative battens, or rhythmic wall sconces. The steps themselves should always remain completely clear.
What color should I choose for a stairwell?
A light shade makes a narrow cage appear larger, while a deep shade softens its angles and creates a sense of spaciousness. In a windowless cage, a rich color often works better than a white that can appear gray. Always test your sample on the wall at two different times of day.
How to decorate a stairwell that is too high?
The height of the wall needs to be utilized, not just the lower part. A continuous panoramic wallpaper, a vertical composition that rises two levels, or a pendant light that spans the width of the wall will fill the space. A colored wainscoting that follows the slope visually lowers the ceiling and grounds it.
How to decorate a narrow staircase?
Opt for anything that adds thickness: paint, wallpaper, flat frames, and low-profile wall lights. A large mirror facing the light visually widens the passageway. Avoid thick battens, shelves, and anything that reduces the usable width of the walkway.
How to brighten a dark stairwell?
Multiply the light sources rather than the wattage: two or three wall lights spaced along the staircase are better than a single ceiling light at the top. Add a mirror opposite the landing window, choose a slightly satin finish that reflects the light, and install a switch at each end.
How to decorate the treads and risers of a staircase?
The risers, the vertical surfaces, can be painted, a gradient of colors applied, or patterned tiles. The tread, where one places the foot, remains smooth, non-slip, and unpatterned, with a clearly visible nosing. A stair carpet is either fixed in place or not installed at all.